Magic Mirror Build #2 – Getting things to work

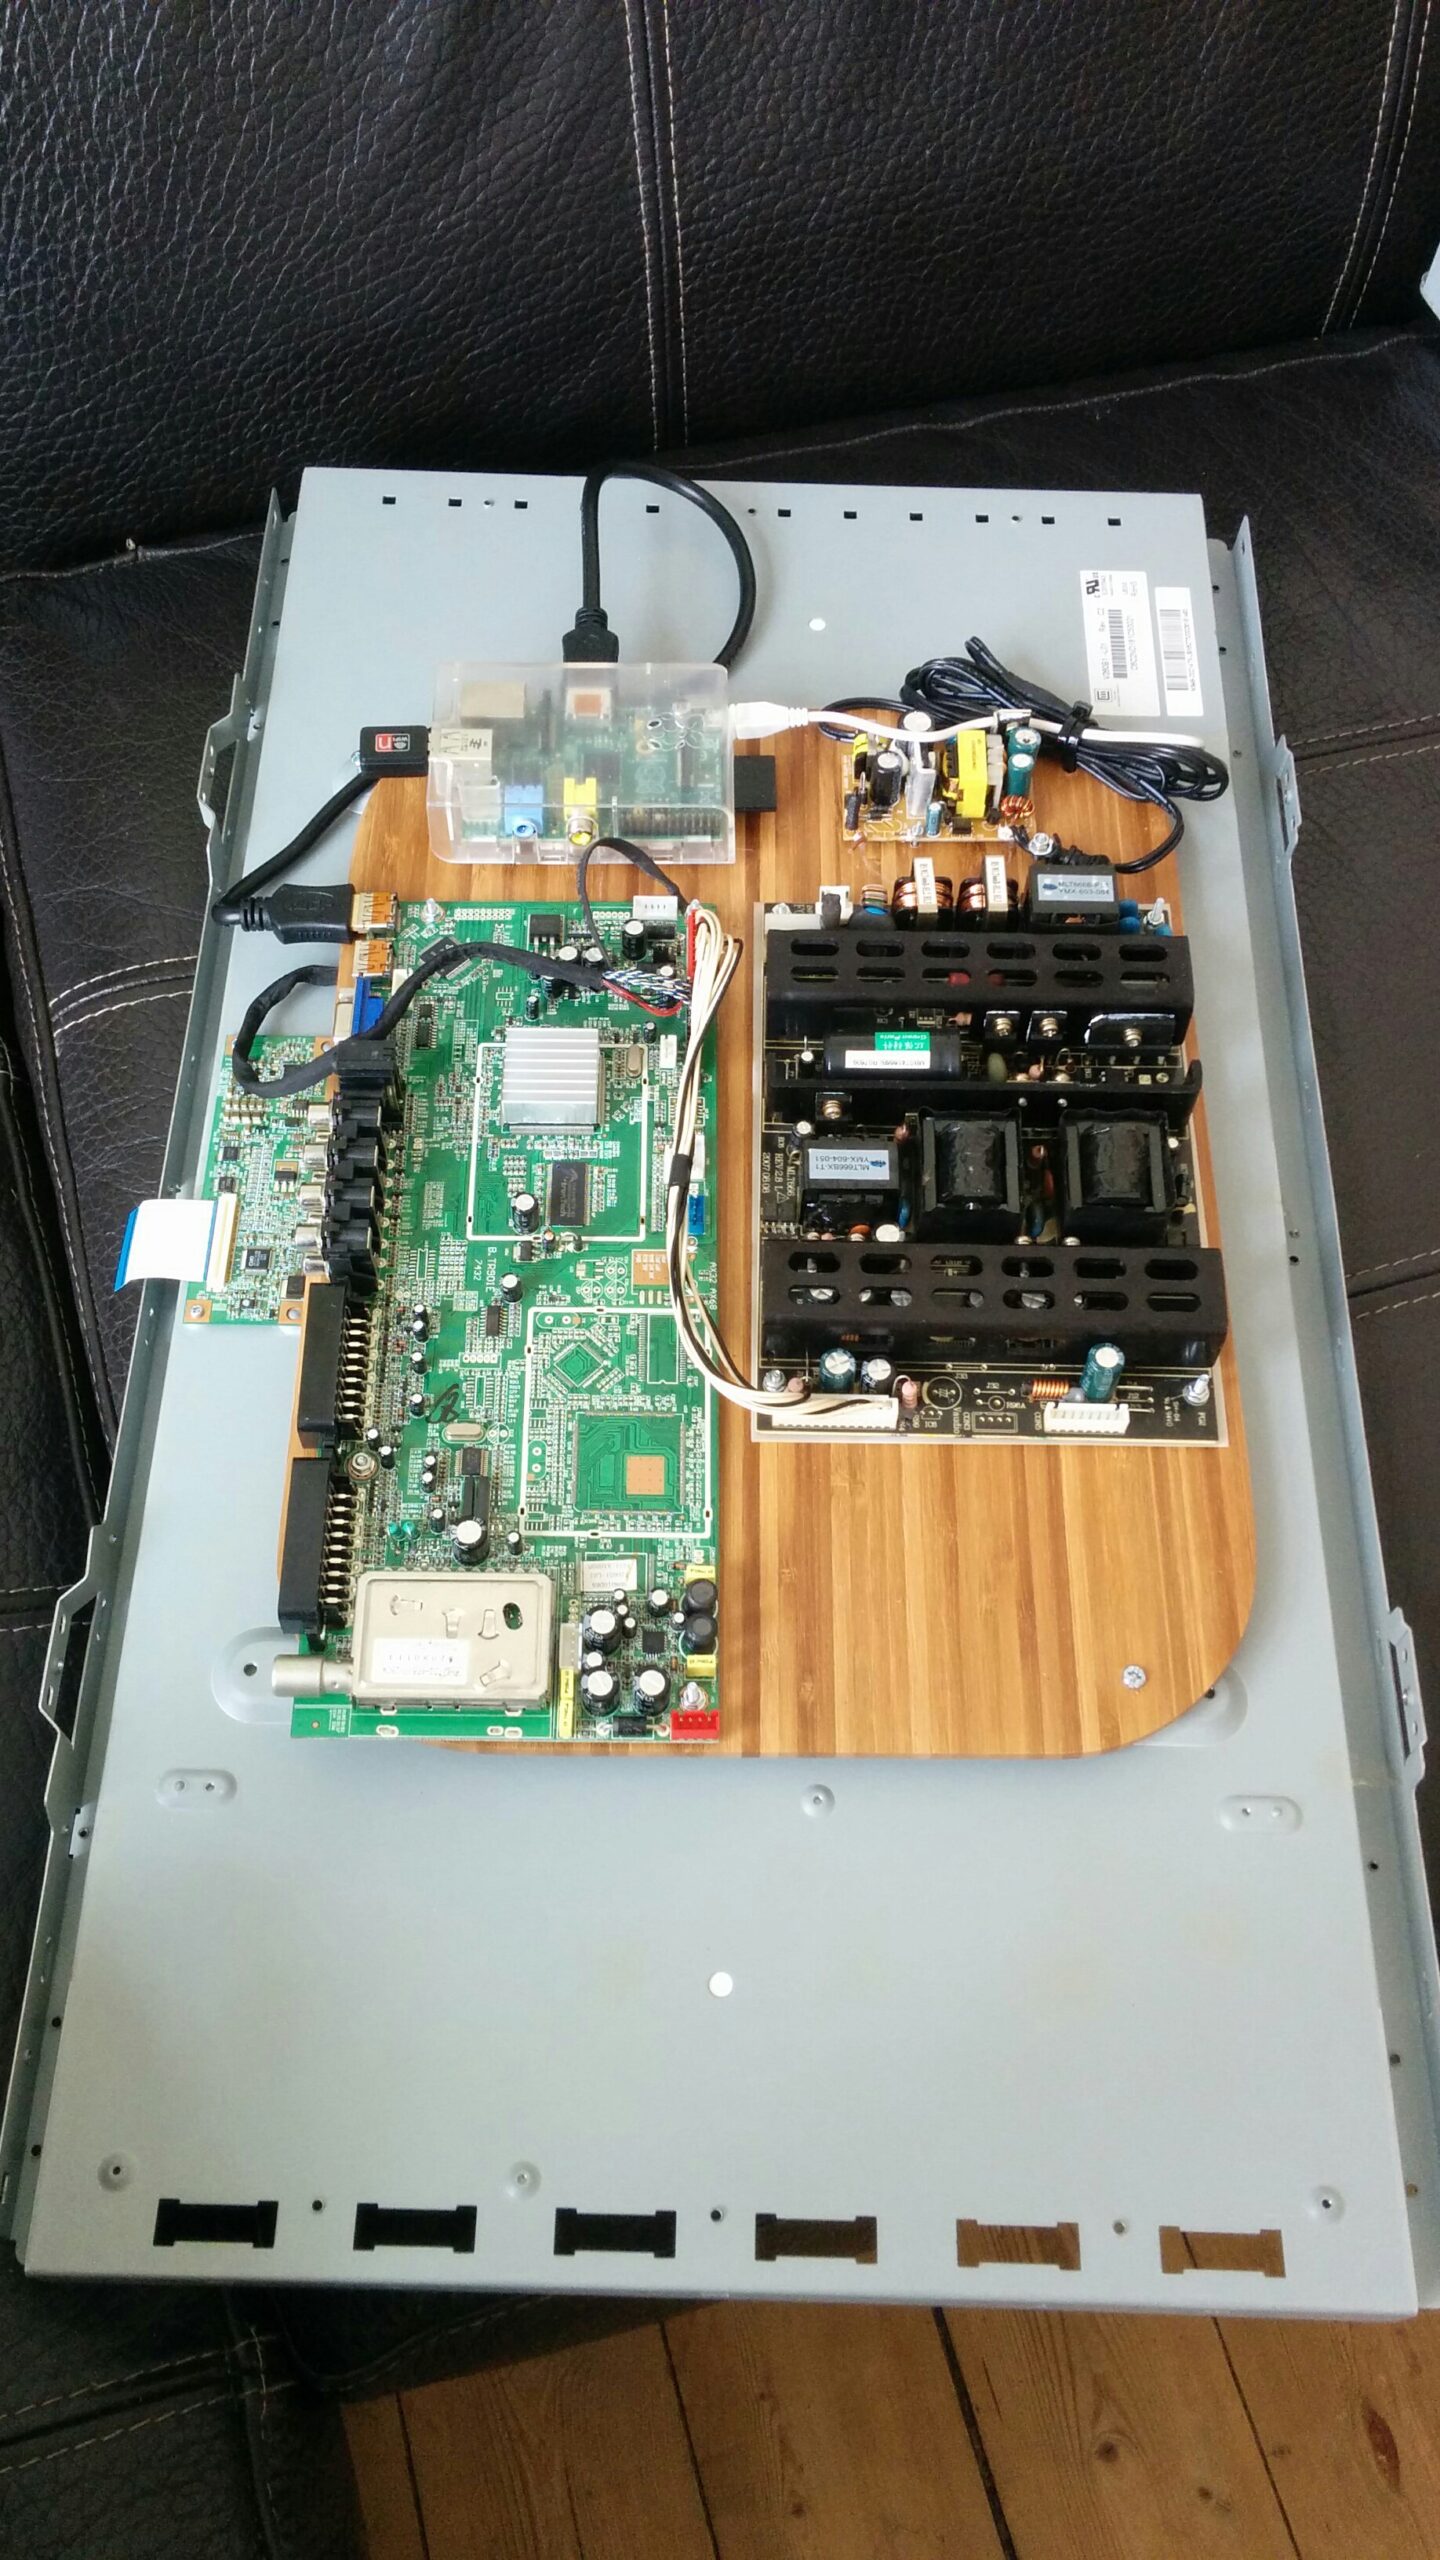
After having learned from my Previous Attempt, I now decided it was best to take some smaller steps. I still had the Raspberry Pi, and was quickly able to buy another old TV for very cheap. I moved this TV in a similar fashion as previously, but this time I would focus on getting the software up&running first.

The first test

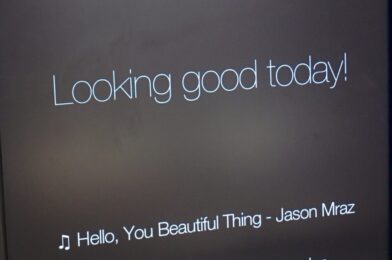
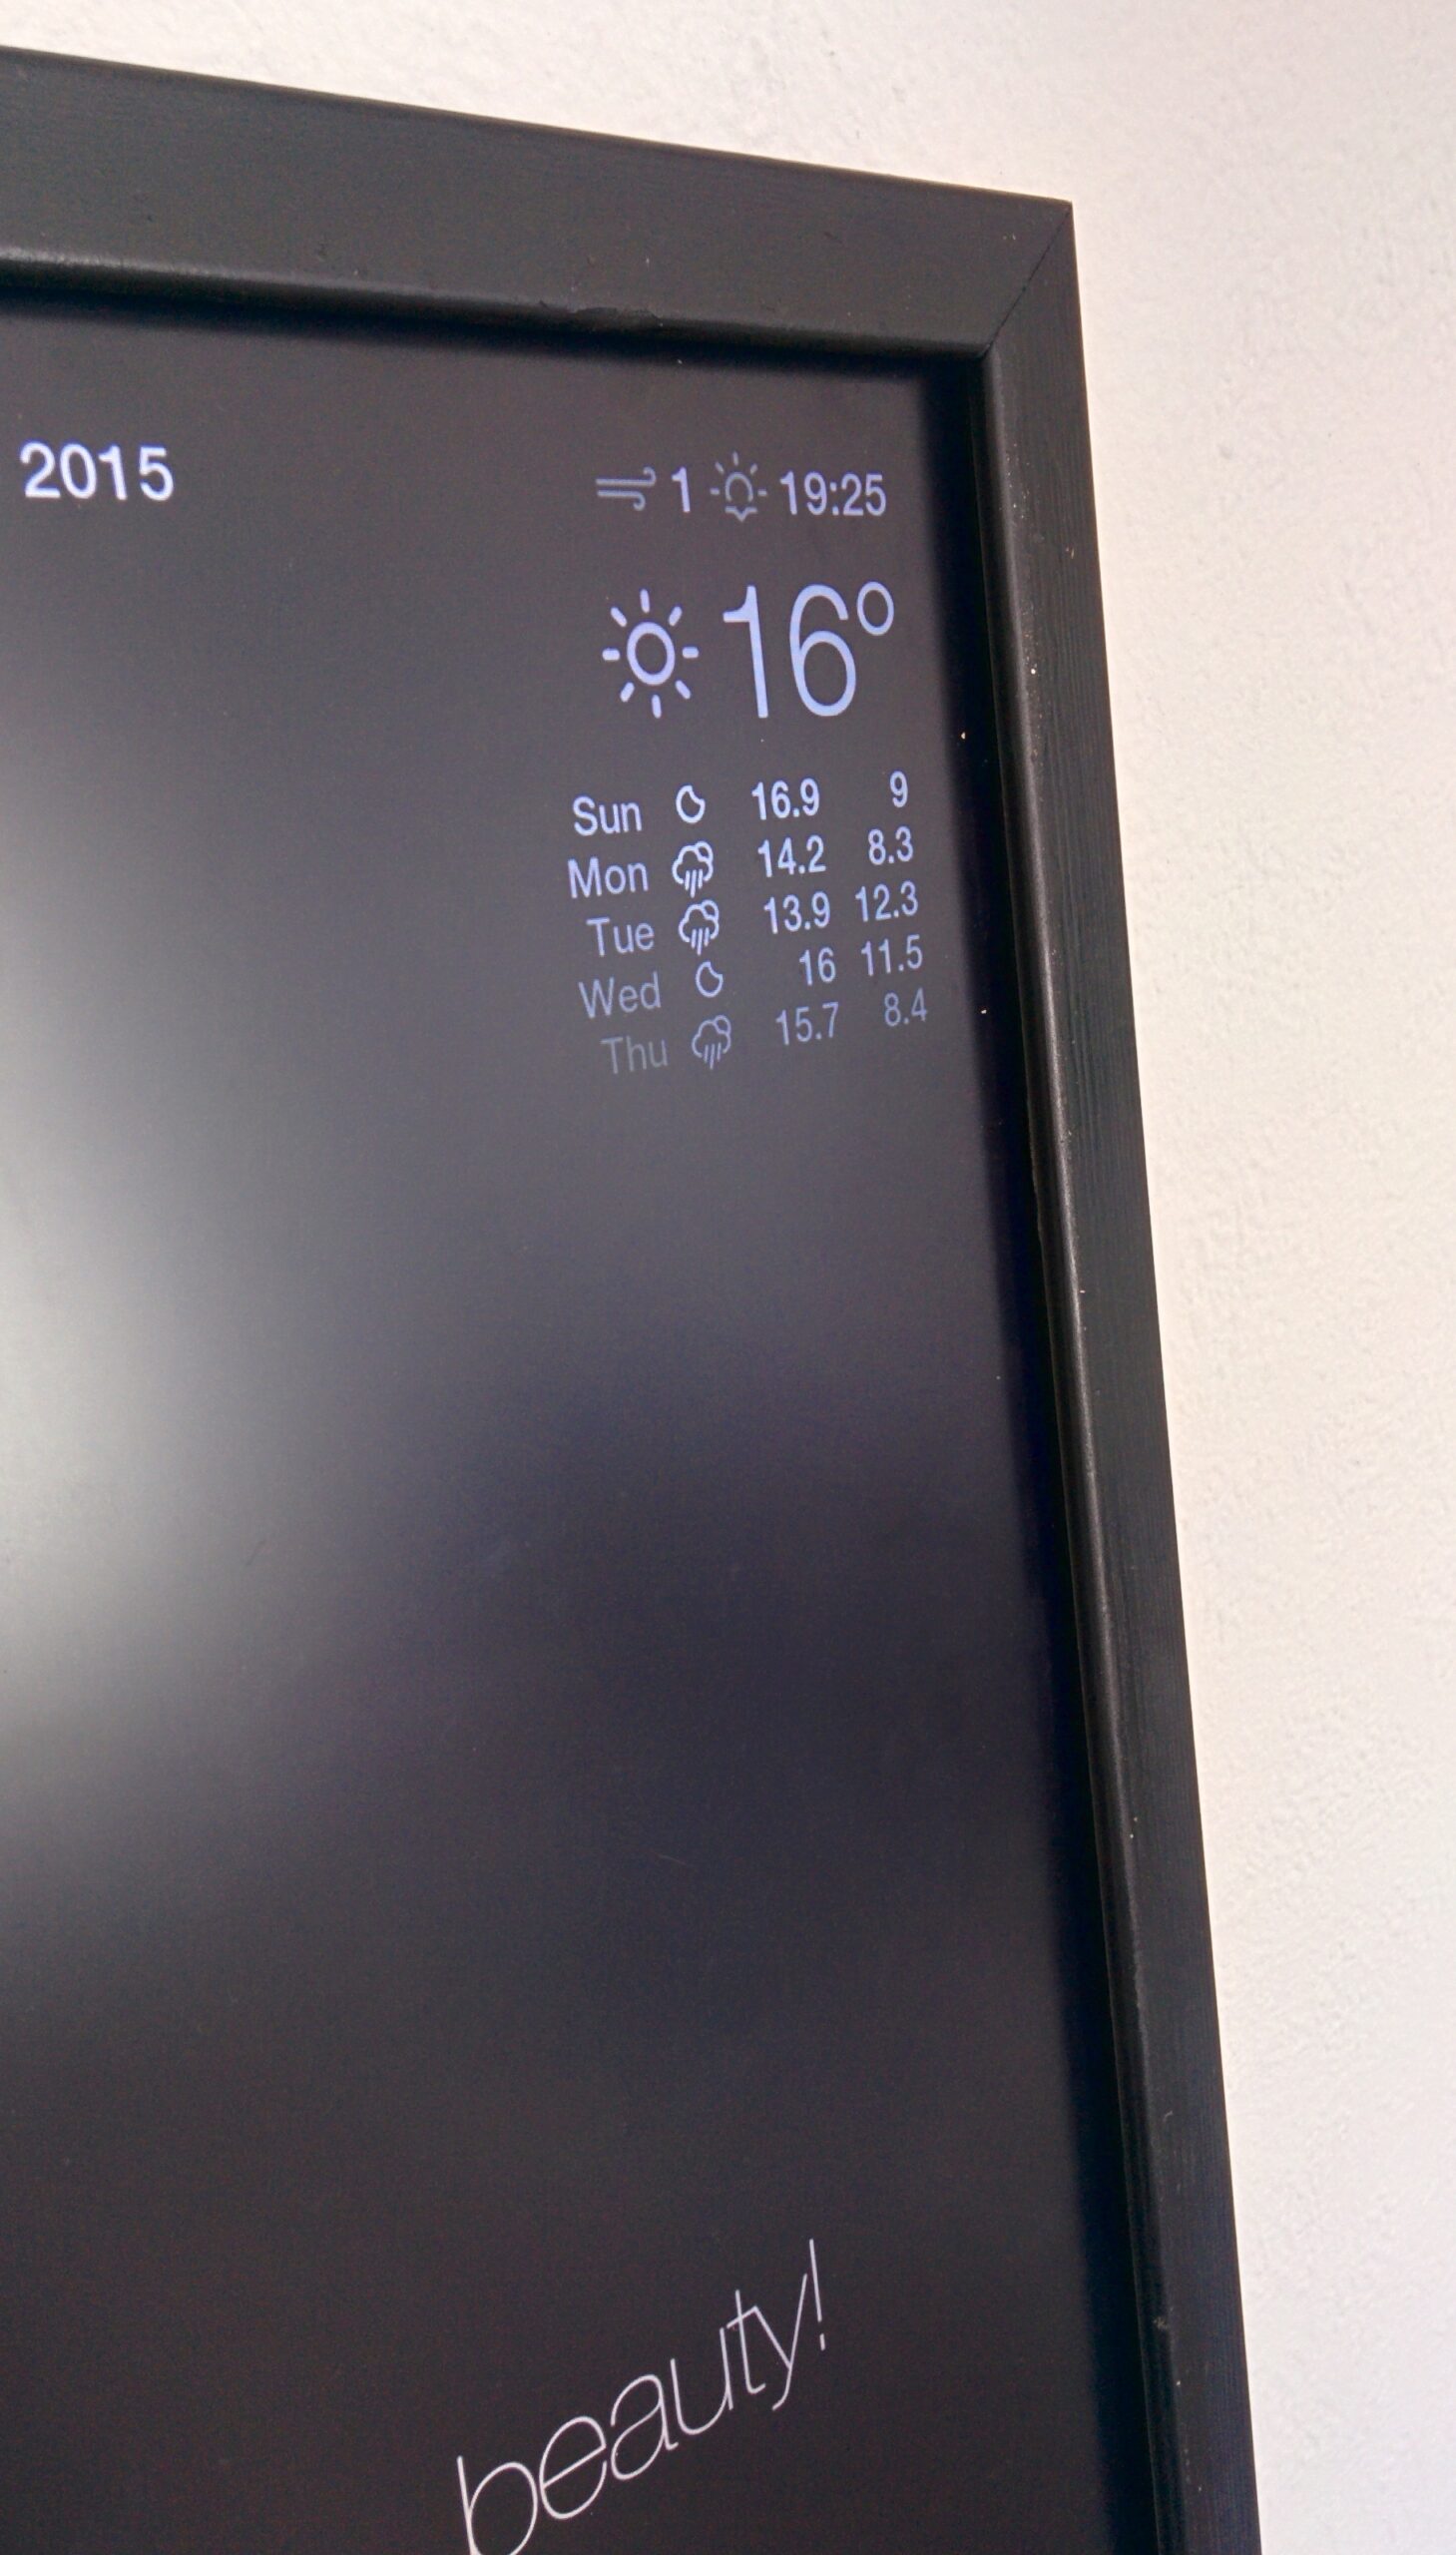
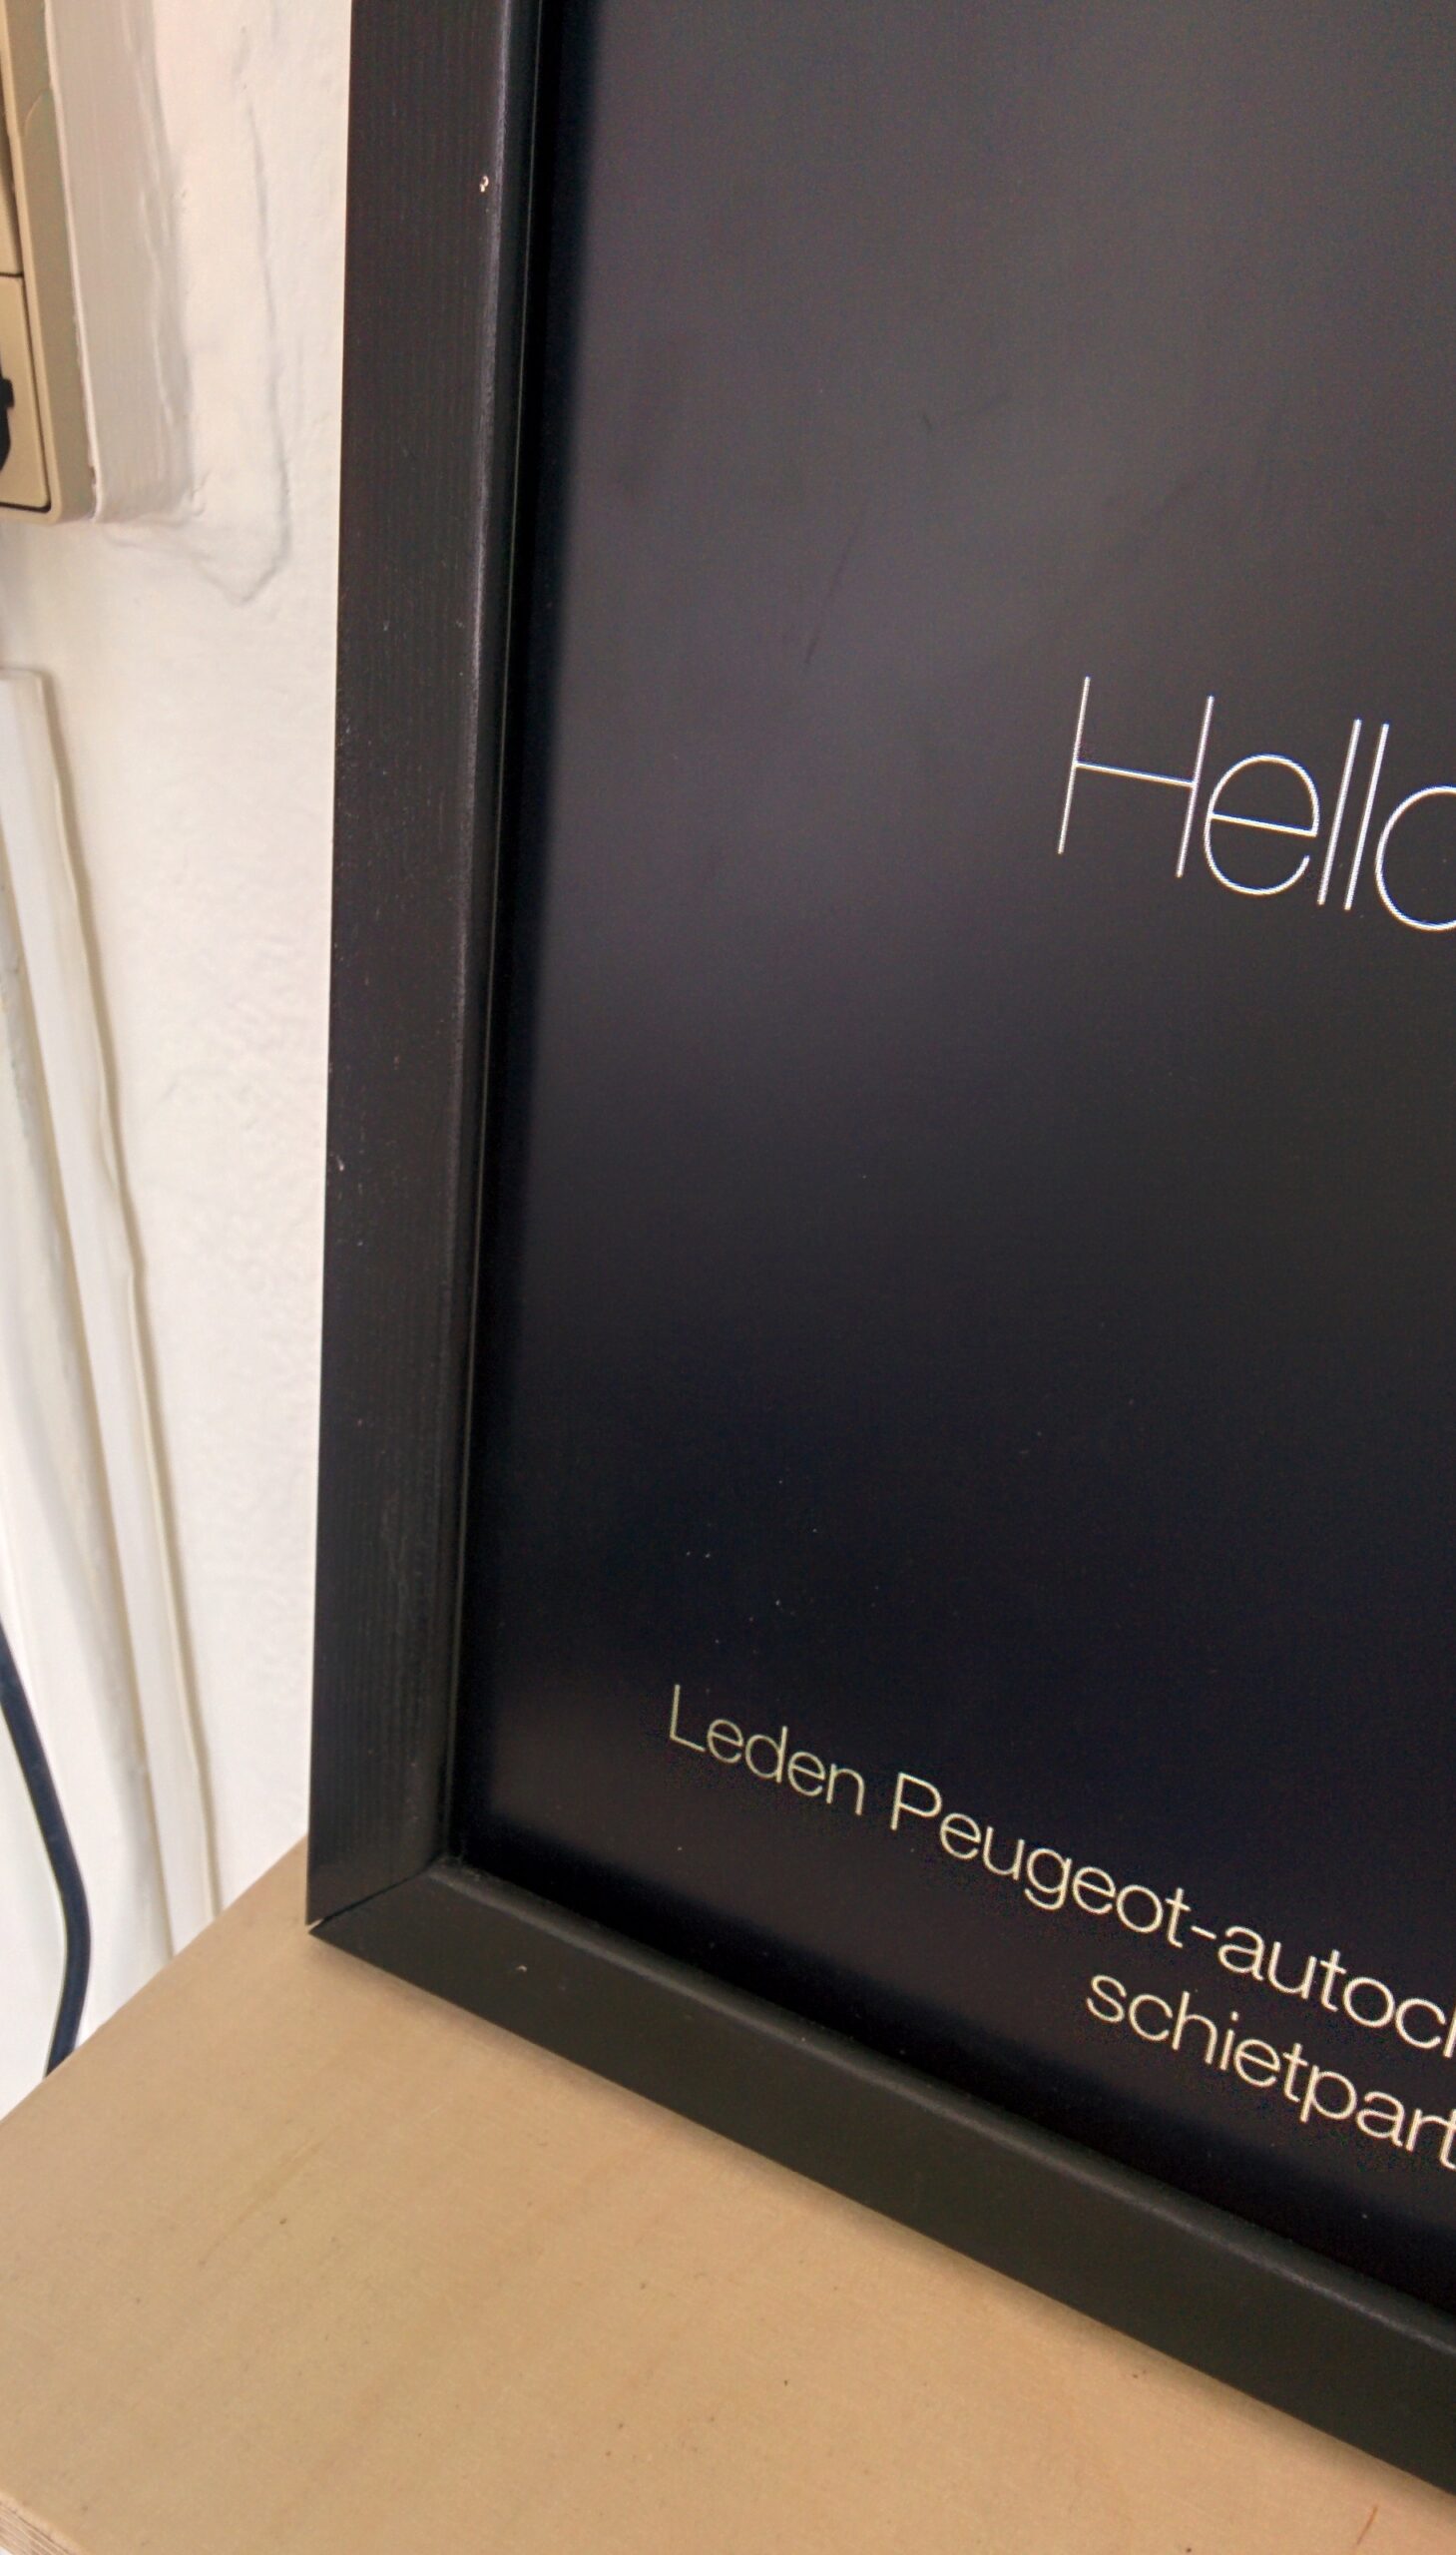
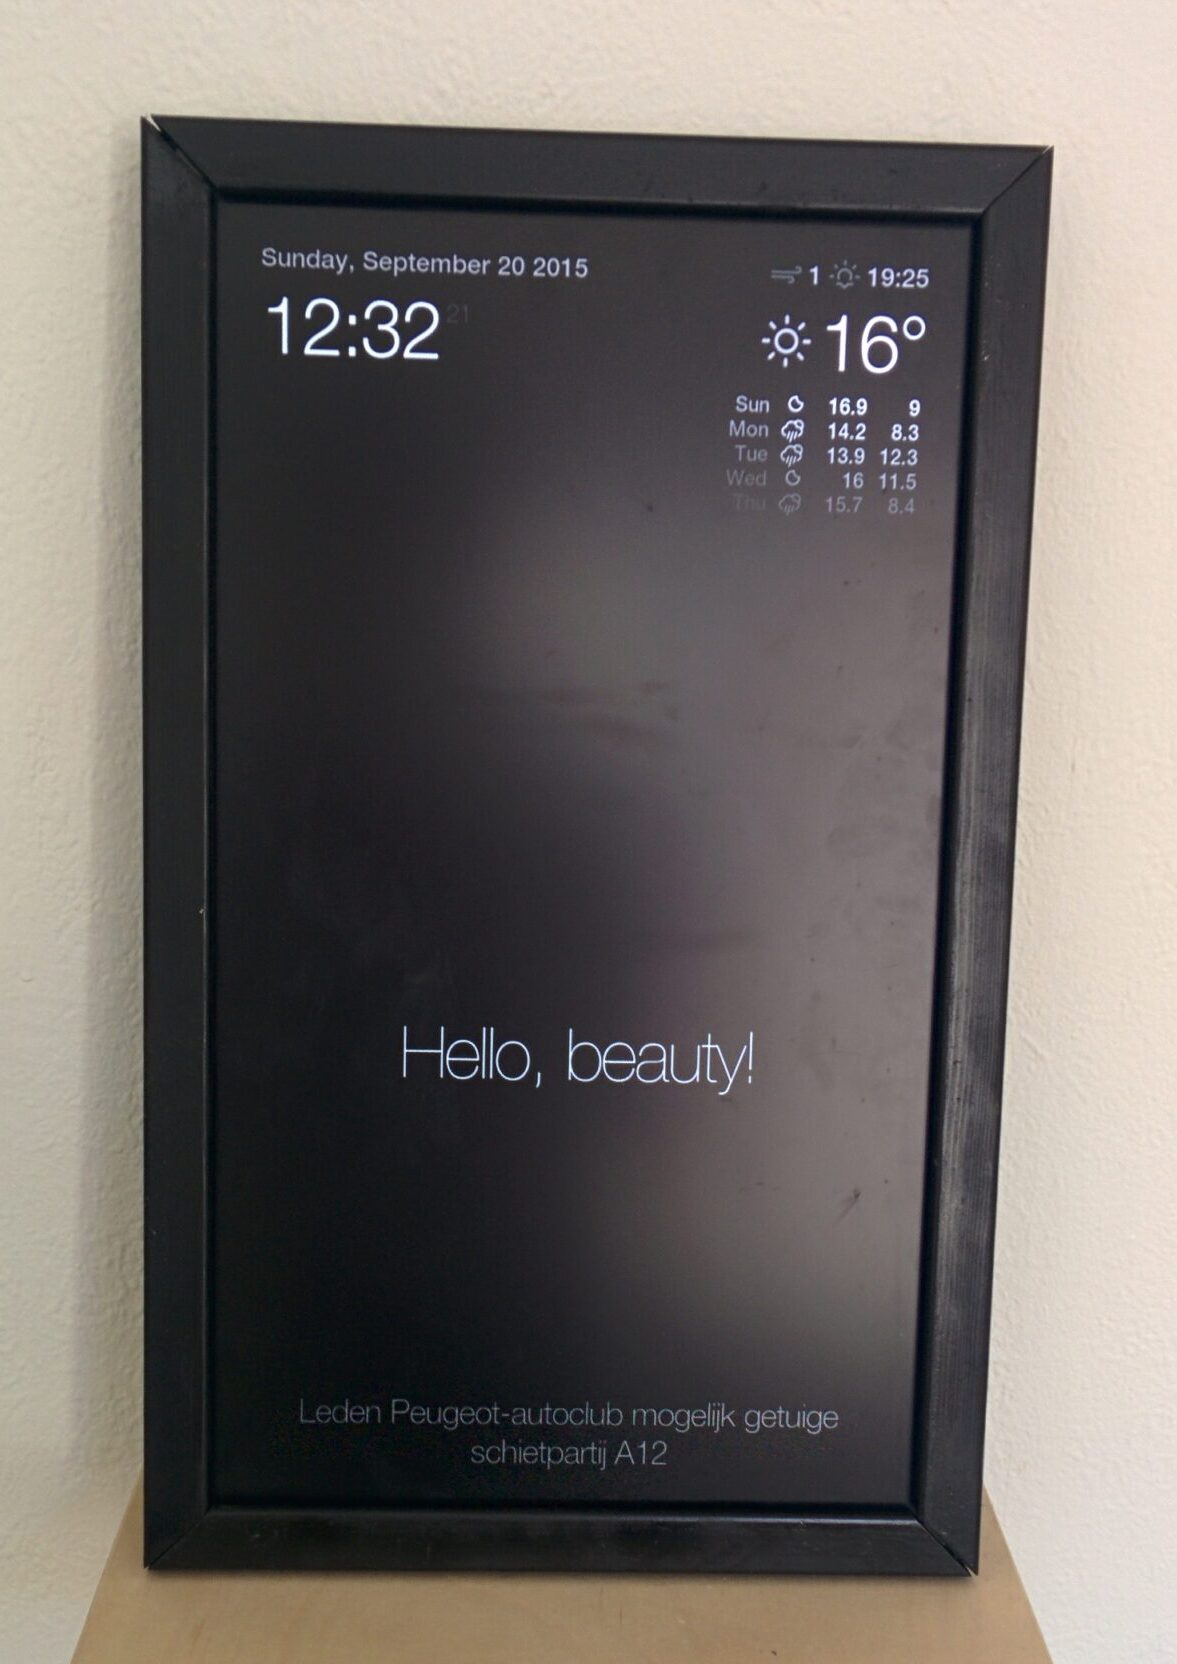
Installing the software wasn’t very difficult, I just had to Follow Michael Teeuw’s guide on how to set up the Raspberry, and then Install his software. After having done this, I found myself looking at a copy of the Magic Mirror!

Hooray, something works!

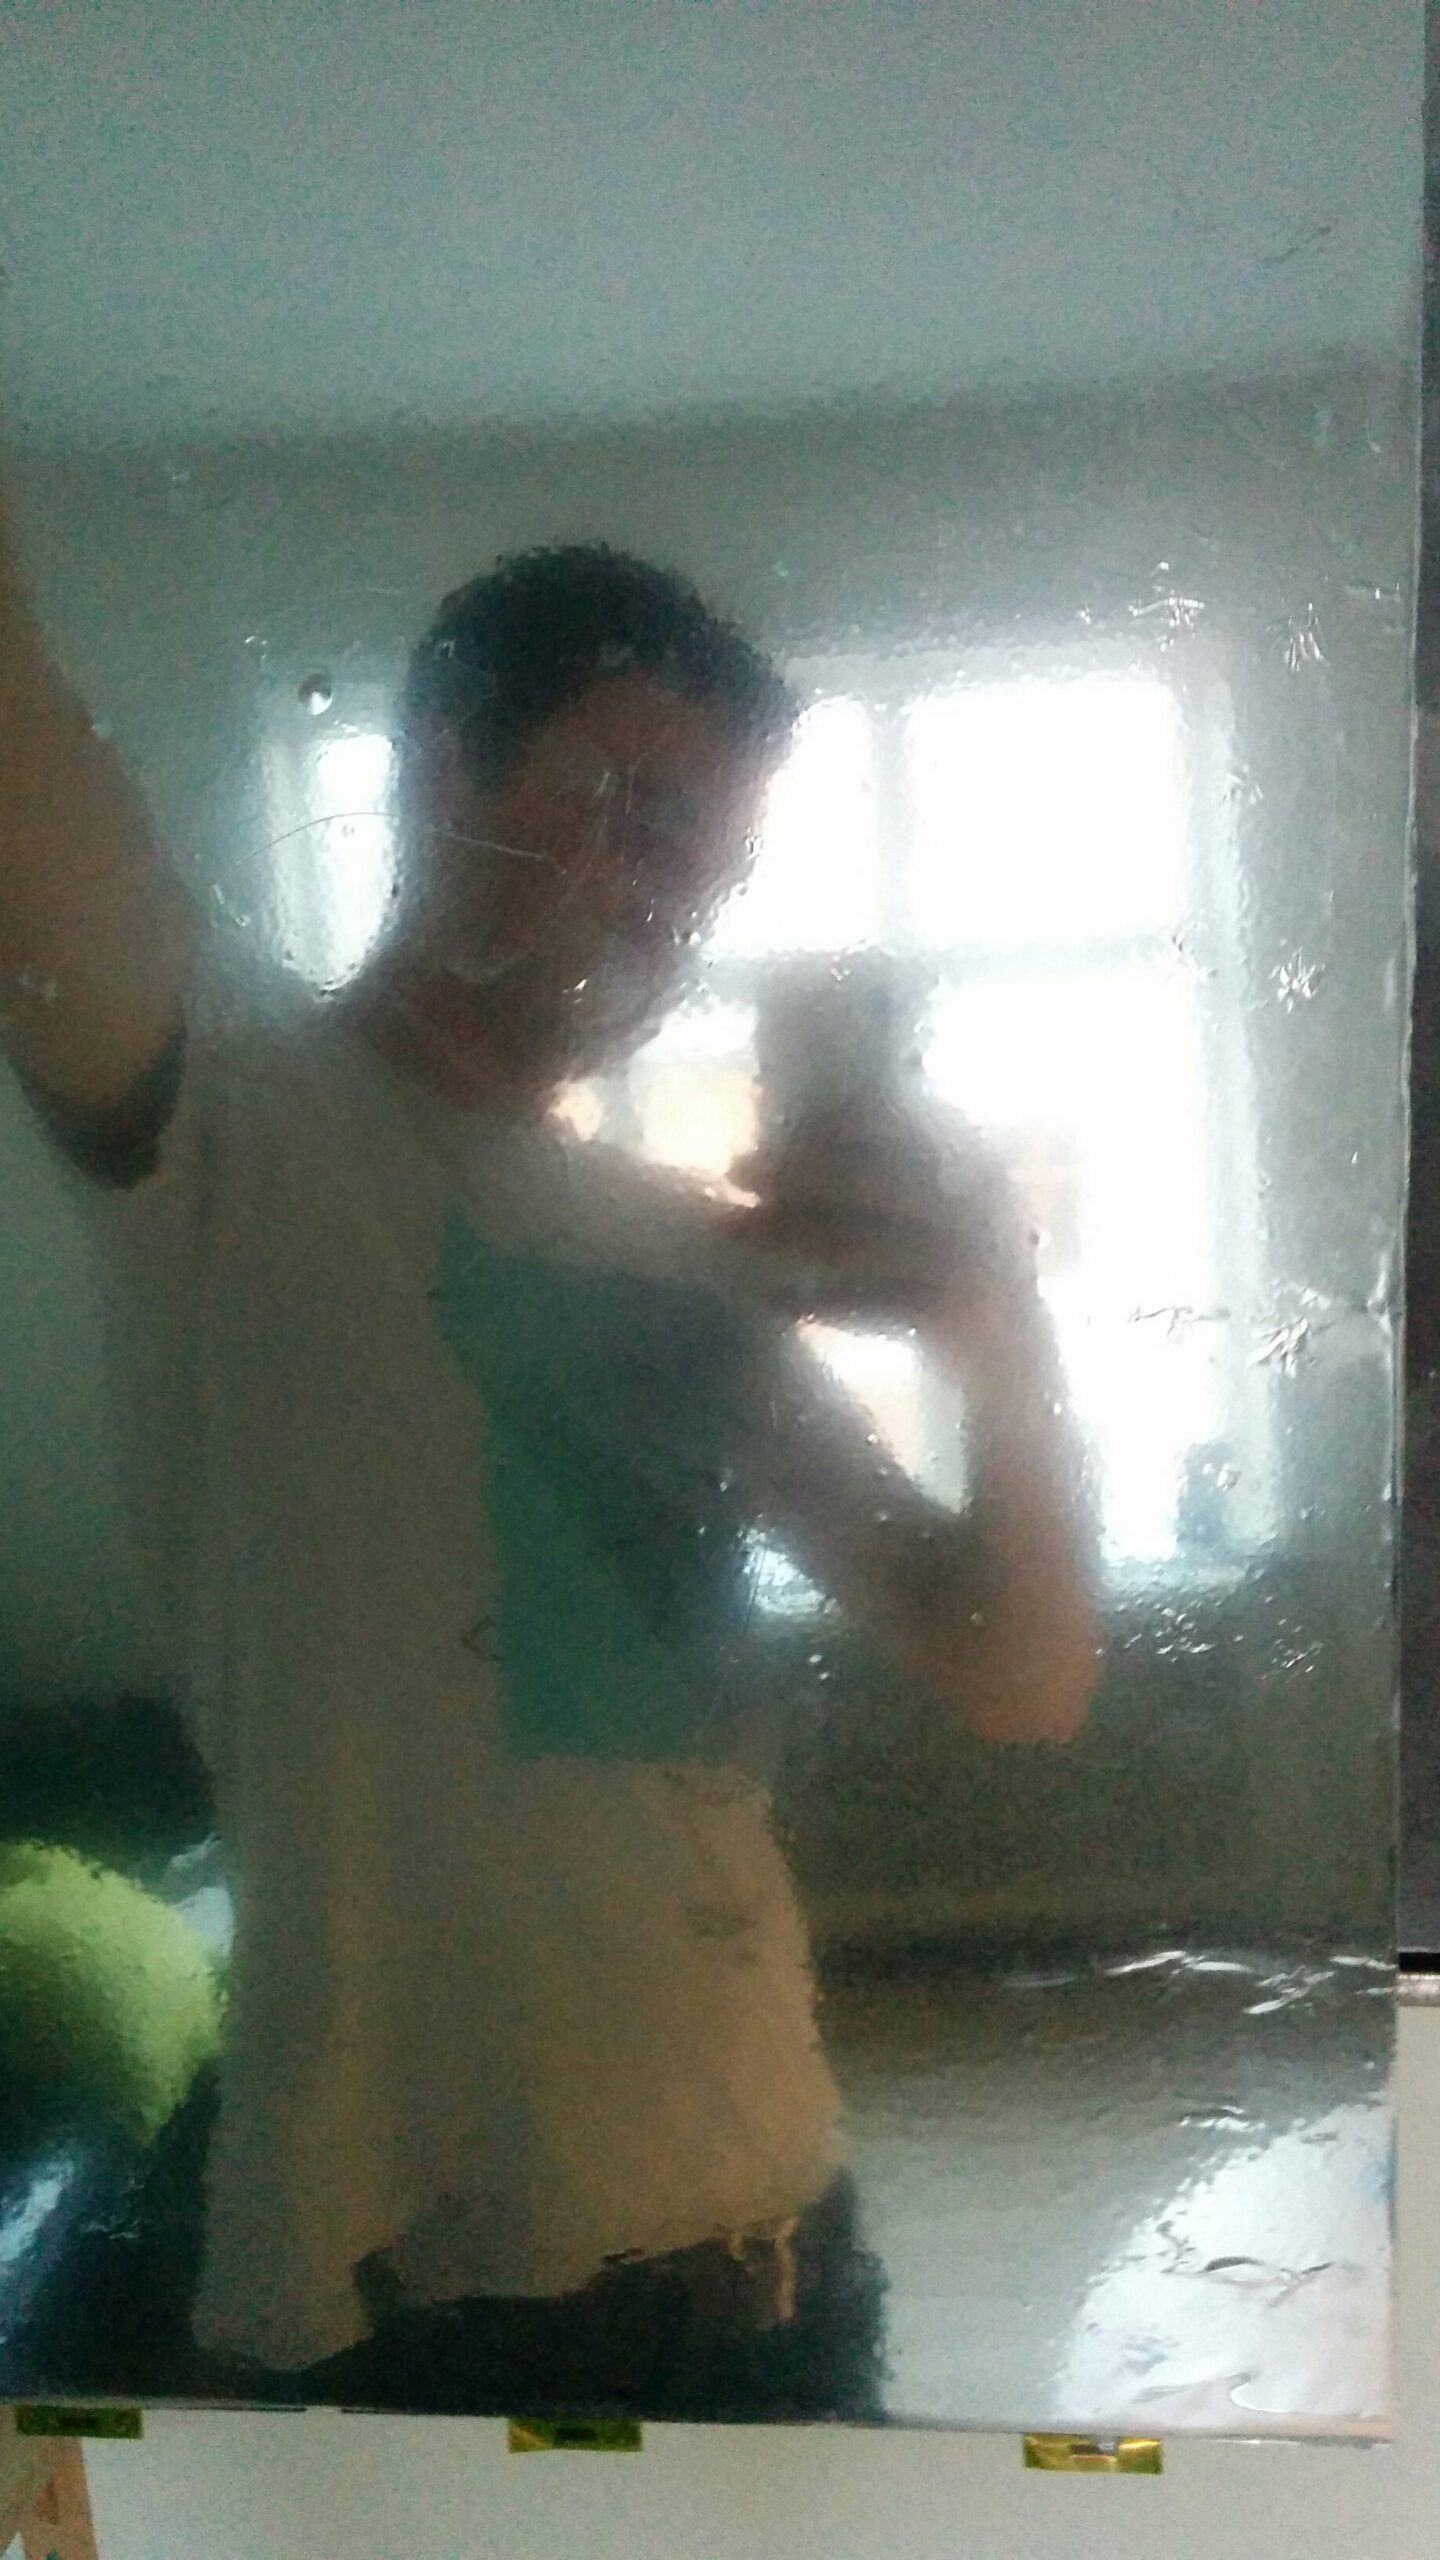
I then tried the cheap eBay foil again. Still, the results I got from this were far from satisfying. It looks like I’m going to have to pull out my wallet and get myself a real one-way mirror…

Second time trying the cheap eBay foil. Again, not a satisfying result.

The frame

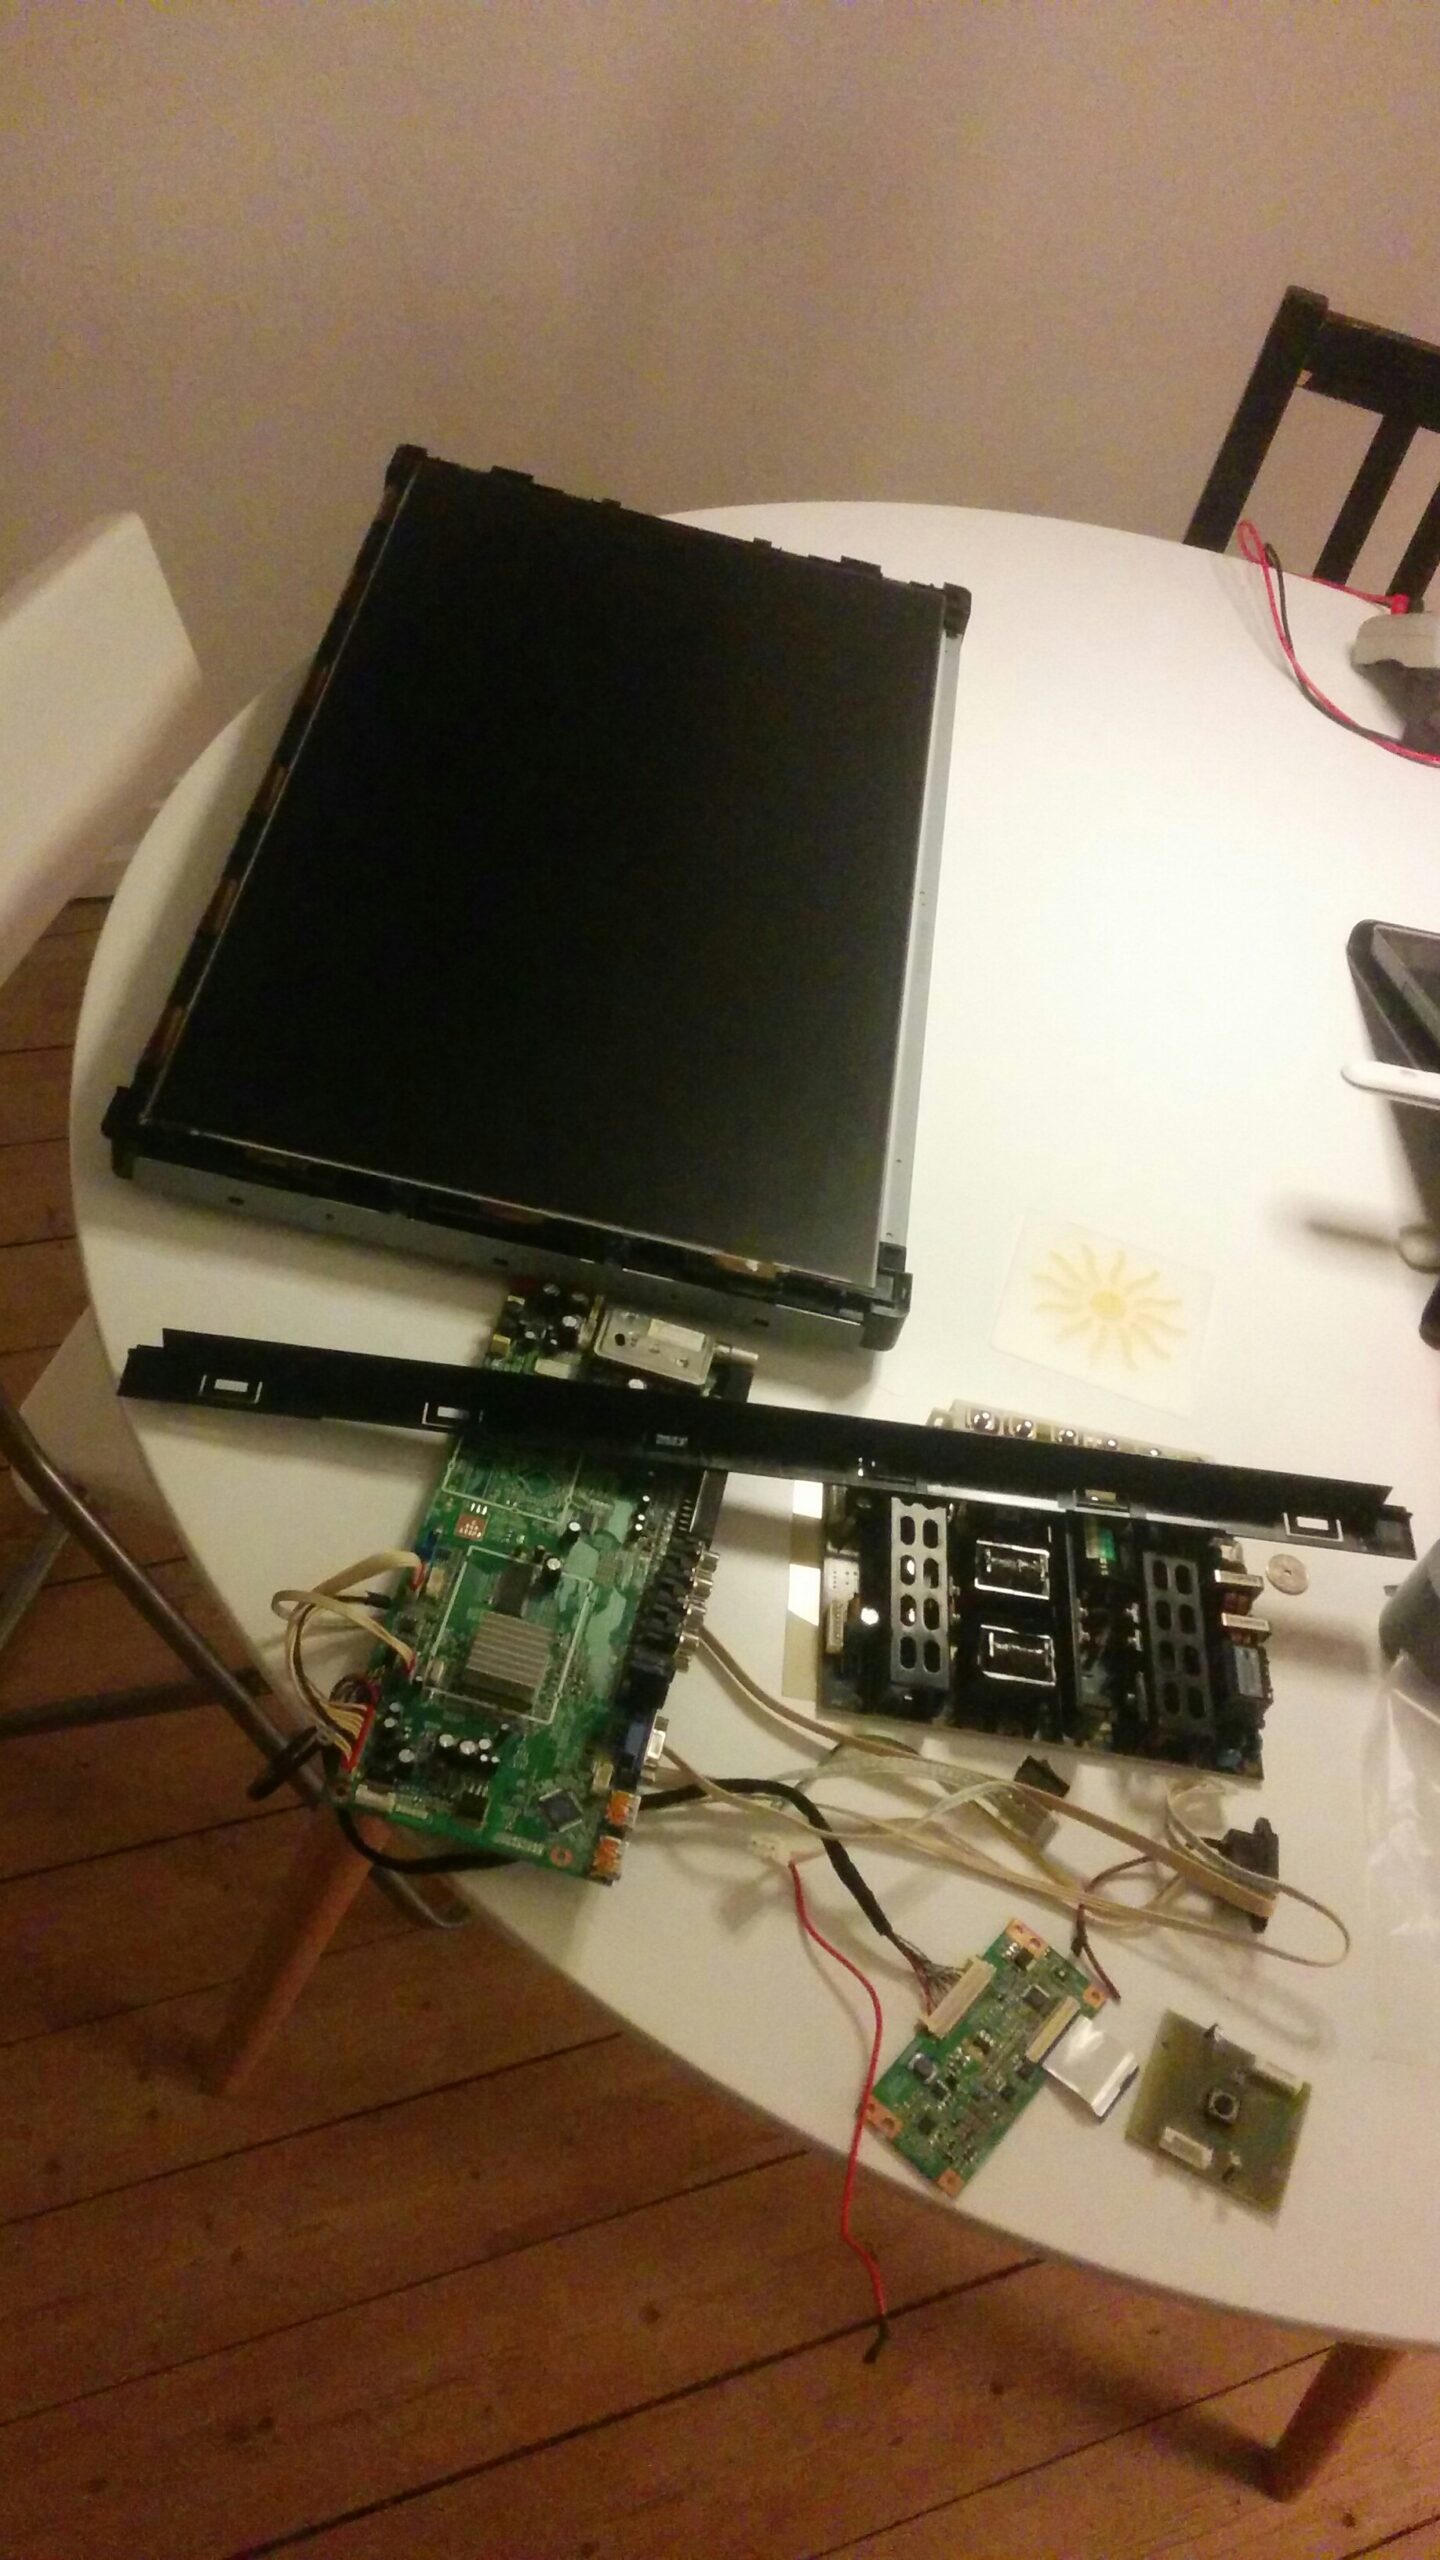
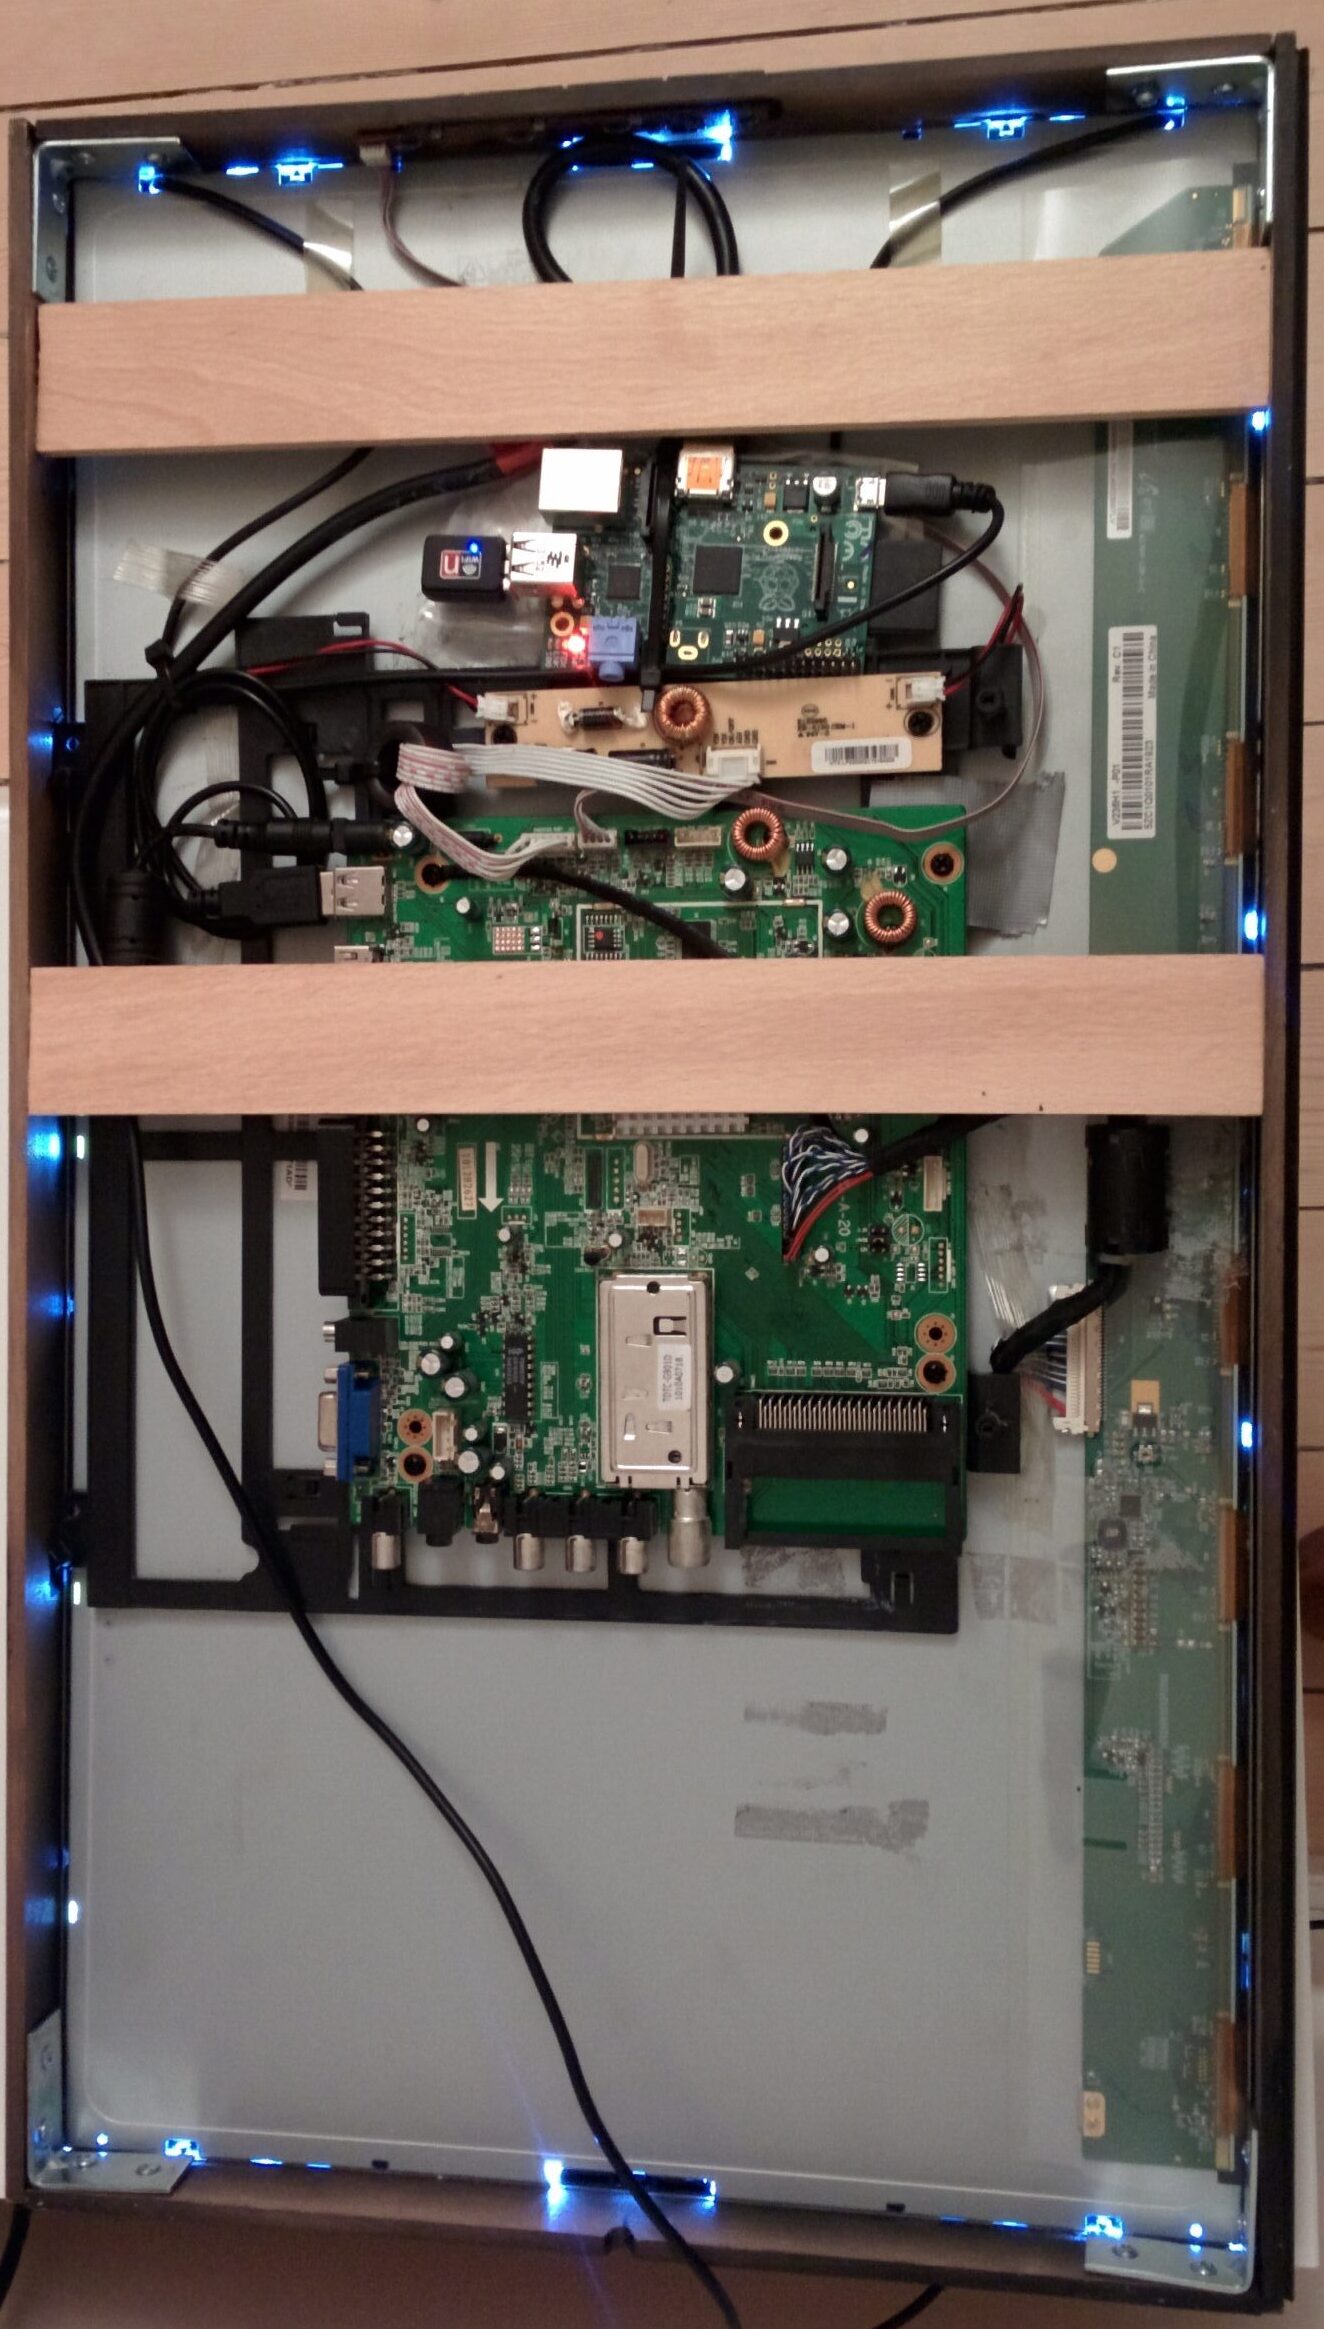
Now that I had ordered a real mirror (bey bey savings), I had some time left to focus on the aesthetics of my mirror. So, I removed the casing of the TV and tried to build a decent looking frame around it.

Building the case

I was quite impressed with how this looked, and after a paintjob I was getting quite happy with it.

Wrap up & result

Now, it was only a matter of waiting for my mirror. When that finally came in, I could screw/glue it all together, and I had myself a Magic Mirror!

You look sexy!

Check out the updates here!

Magic Mirror Build #1 – First Attempt

In June 2015 I stumbled upon a blogpost by Michael Teeuw, the creator of the original Magic Mirror. He holds a blog at michaelteeuw.nl called Xonay Labs. Admittedly, most of my current website is inspired by his website, but as a starter this was the first project I also decided to attempt. If you haven’t seen it, take a look at his original project and blog, I’m sure that if you like the stuff I’m doing, you’ll love his site!

So, let’s get to the build:

July 2015 – First Build

A magic mirror works by having a screen behind a so called one-way mirror. A one-way mirror reflects a certain percentage of the light that hits it, while it also lets some of it through. This means that if we put a one-way mirror in front of a display and display some white text on a black background, the text will shine through the mirror and shows up between our reflection! Awesome, right?


There are a few things we’re gonna need for this build:

  • A Raspberry Pi to run the software (which we again will credit to Michael Teeuw).
  • A display to tell us how sexy we look today.
  • A one-way mirror.

Also, being a student at the time meant that I wanted to do this project as cheap as possible. So first, I ordered myself some one-way mirror foil on eBay (which was €5,- compared to an actual mirror that costed €200,-). In addition, I bought a Raspberry Pi and an old TV-screen that I picked up using my motorbike:

Very professional transportation of the TV screen.

Being very (over-)confident of myself, I decided that I’d be able to take apart the TV and different layers of the LCD panel, and glue the foil right onto the top layer of the LCD panel. The disassembly went rather well, but after I glued the foil on the display I was rather disappointed with the mirror-effect. Also, after I assembled the TV back together I found that the LCD panel was broken.

Here I found out that this project is going to take some re-work and smaller steps…

Check out part 2 here!

Tagged : / / /