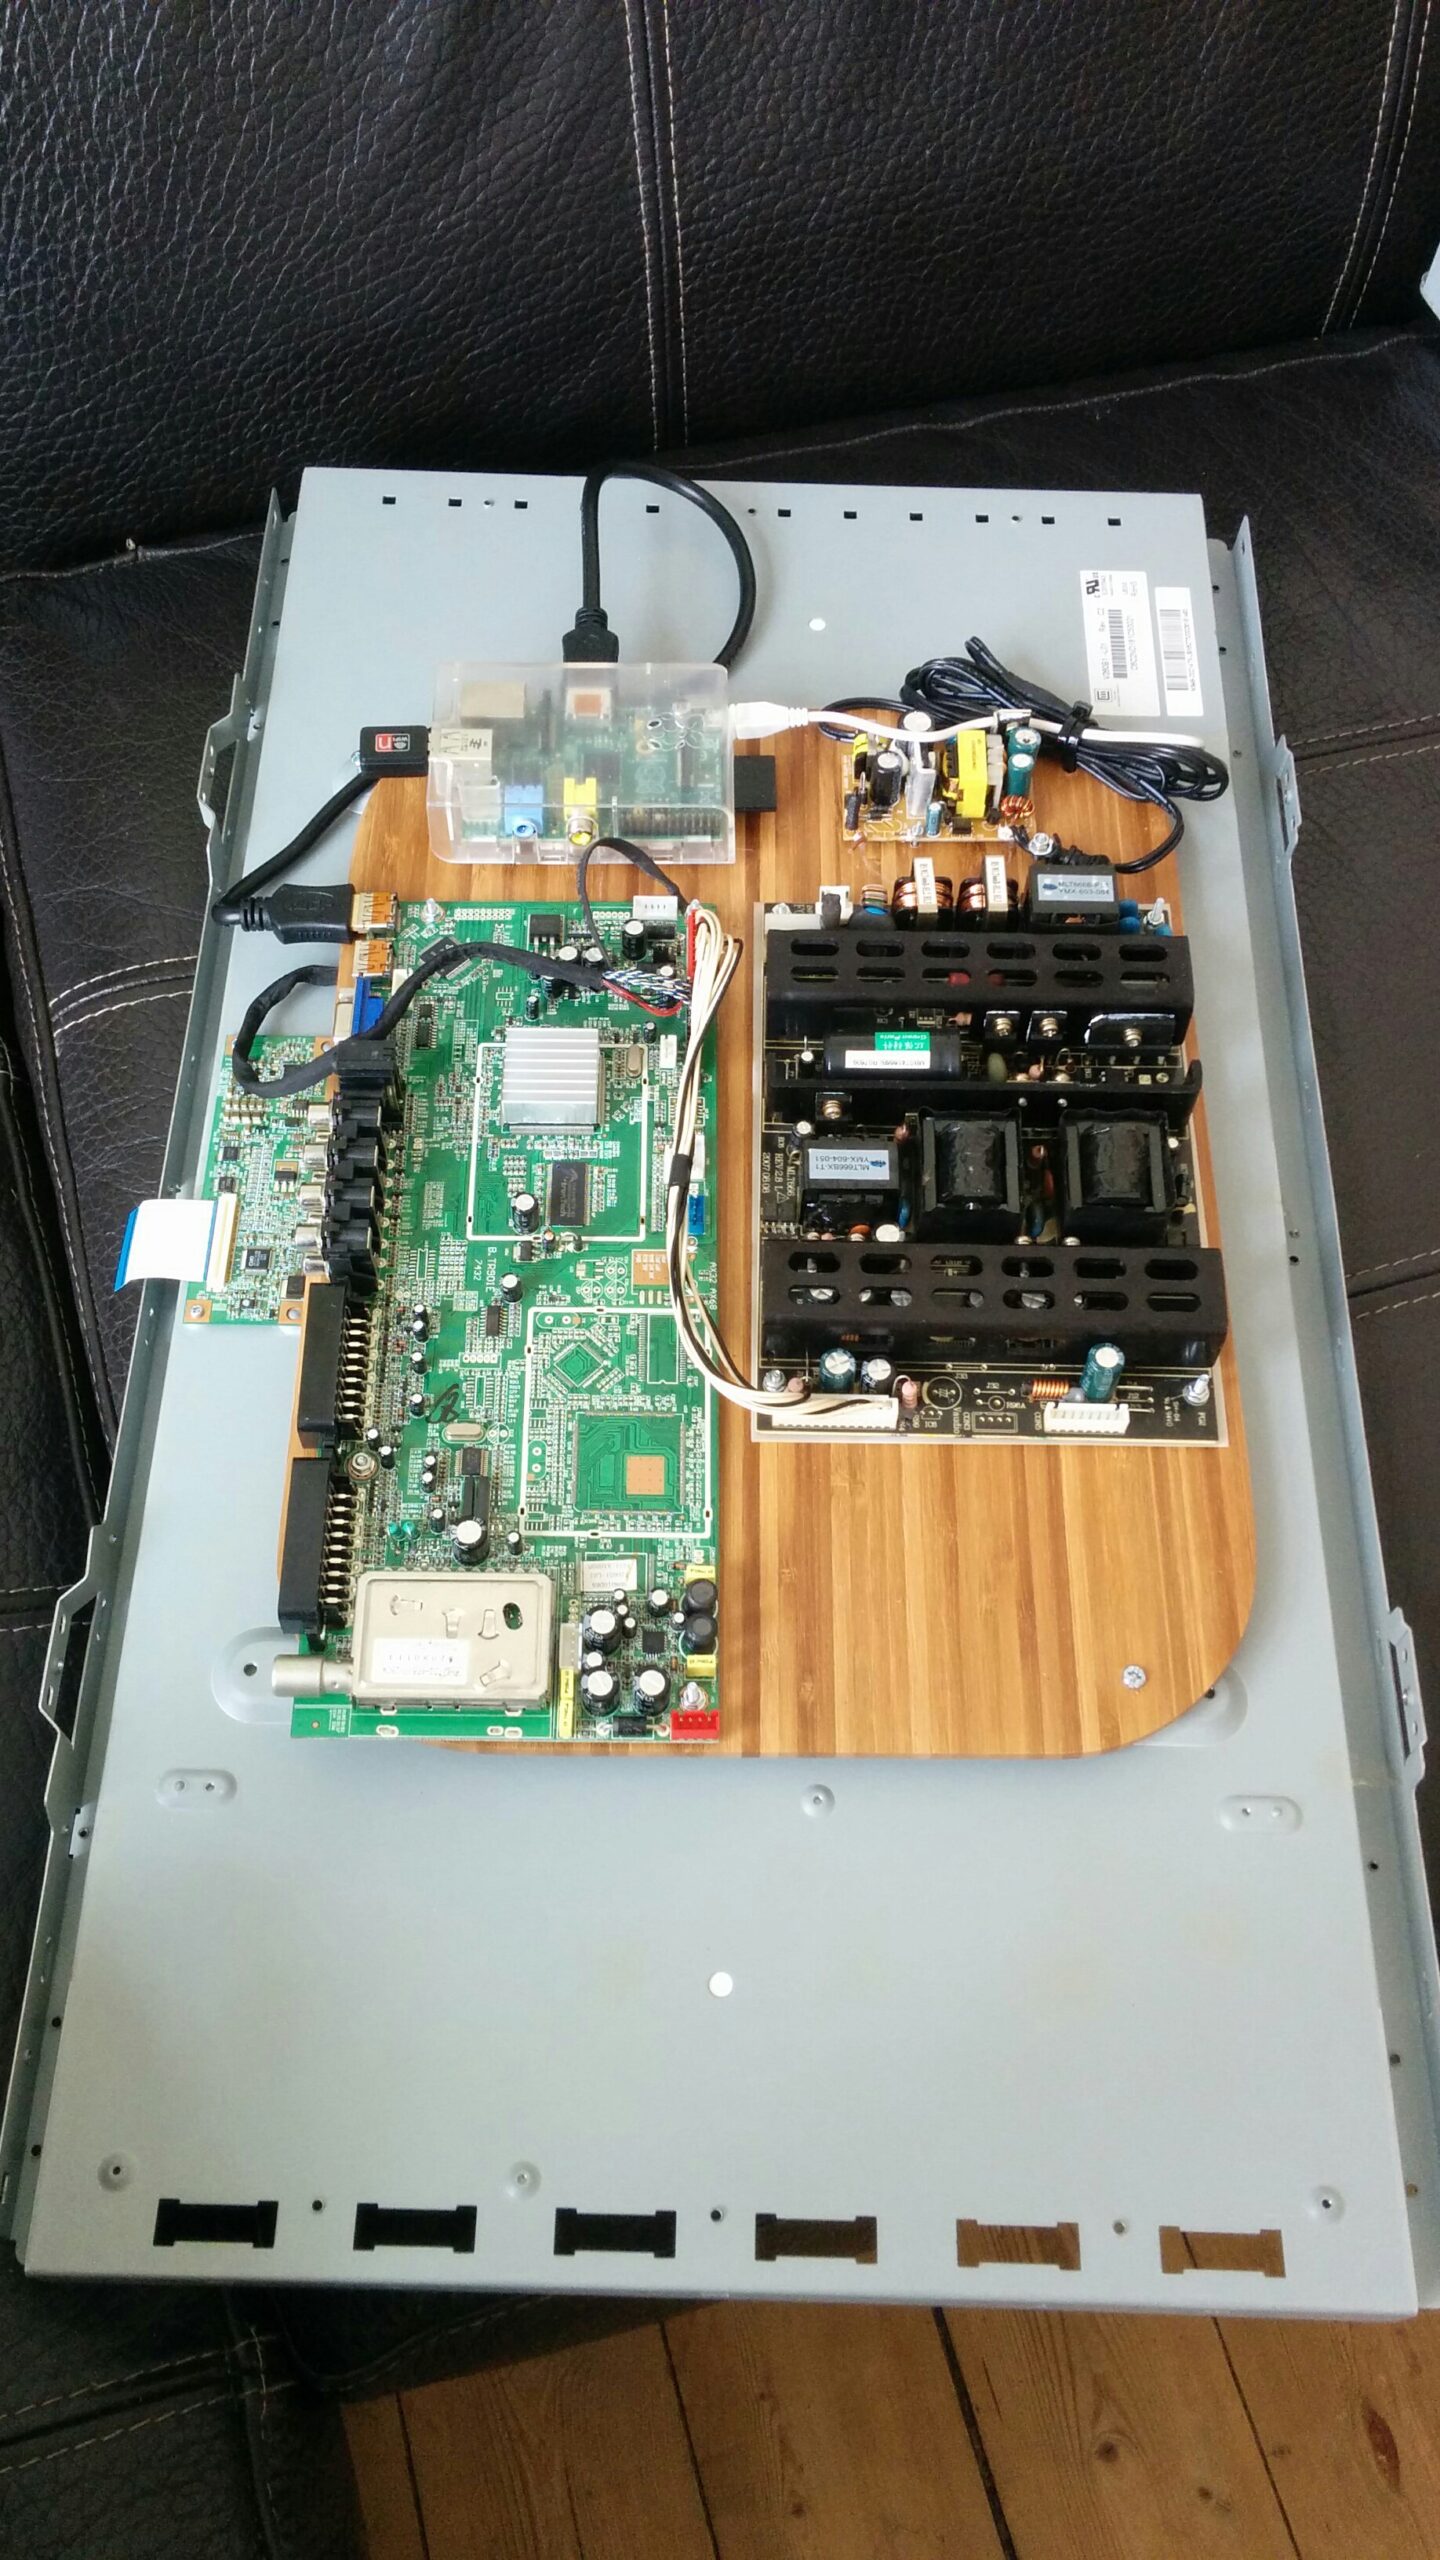
Since I originally built my mirror it received multiple upgrades, both in hardware and in software. In this post, I will attempt to describe the changes I have done over the years.
Modifying the original software
As I mentioned earlier the first software that I installed was the original MagicMirror software by Michael Teeuw. This software was able to show the following things:
- The time
- The weather
- Compliments
- News headlines
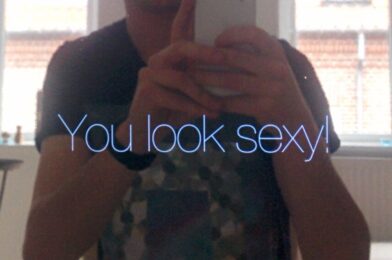
This of course was already very nice. However, I wanted to make the software a bit more my own. I therefore modified it to include a line which showed the song I listened to last. This was managed by linking up my Spotify with Last.fm. Spotify would ‘scrobble’ (a fancy word for logging) the song to Last.fm. The mirror would poll (ask) Last.fm every 10 seconds which song was scrobbled last and display this on the mirror. The end result looked like this:
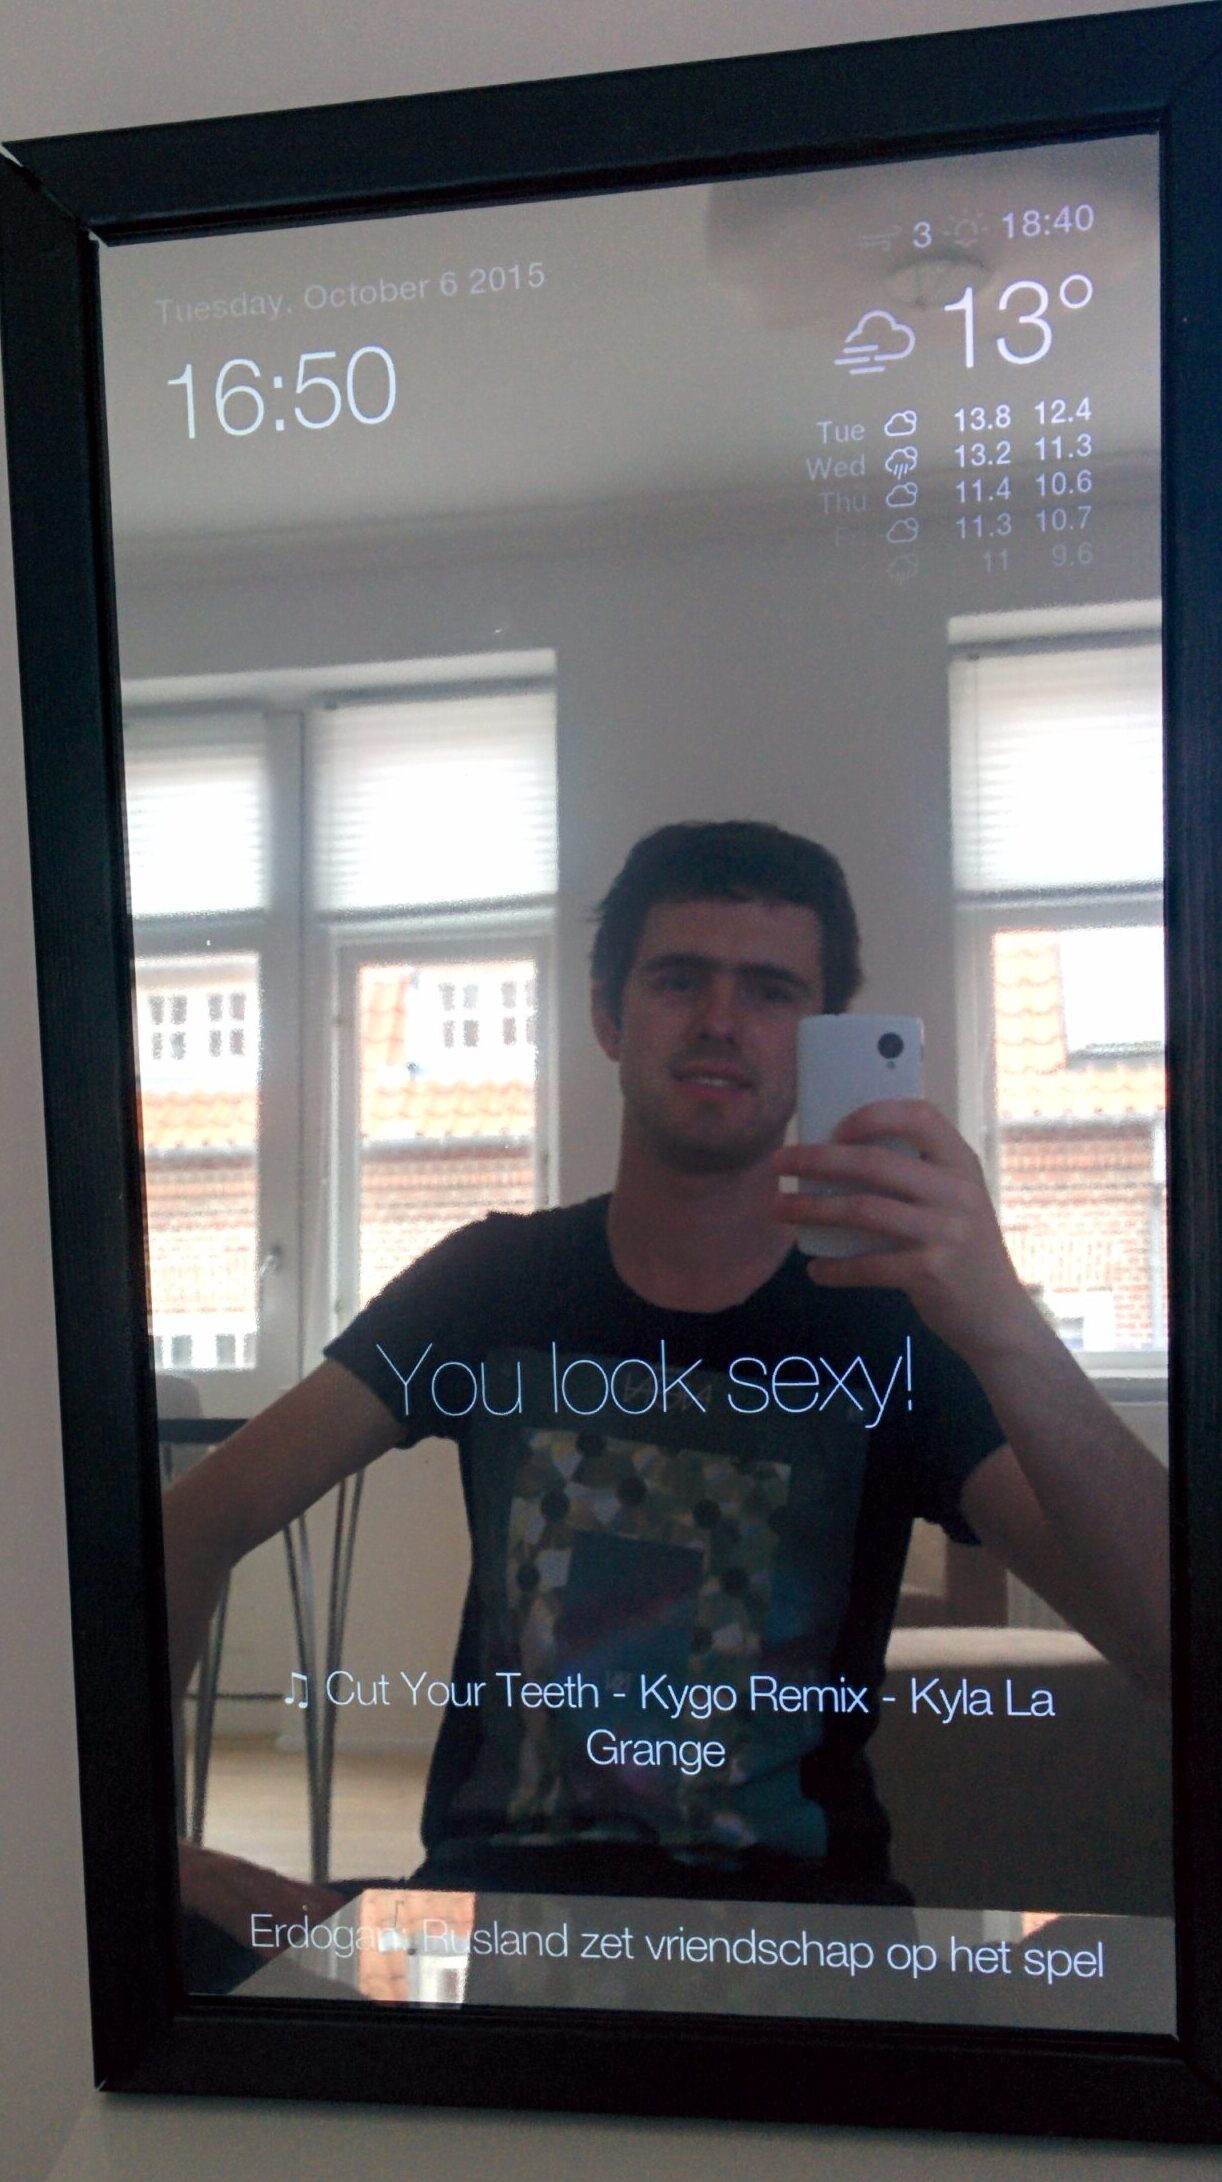
Me being happy with my first mirror!
Upgrading the hardware
The original mirror had a Raspberry Pi 1 model B to show the content of the screen. The reason I didn’t have the Raspberry Pi 2 even though it was released in February 2015, was that I had actually salvaged the RPi 1b from another project. A year earlier (April 2014), I had tried to set up a media server/TV receiver inside a beer-crate that I had rebuild into a boombox:
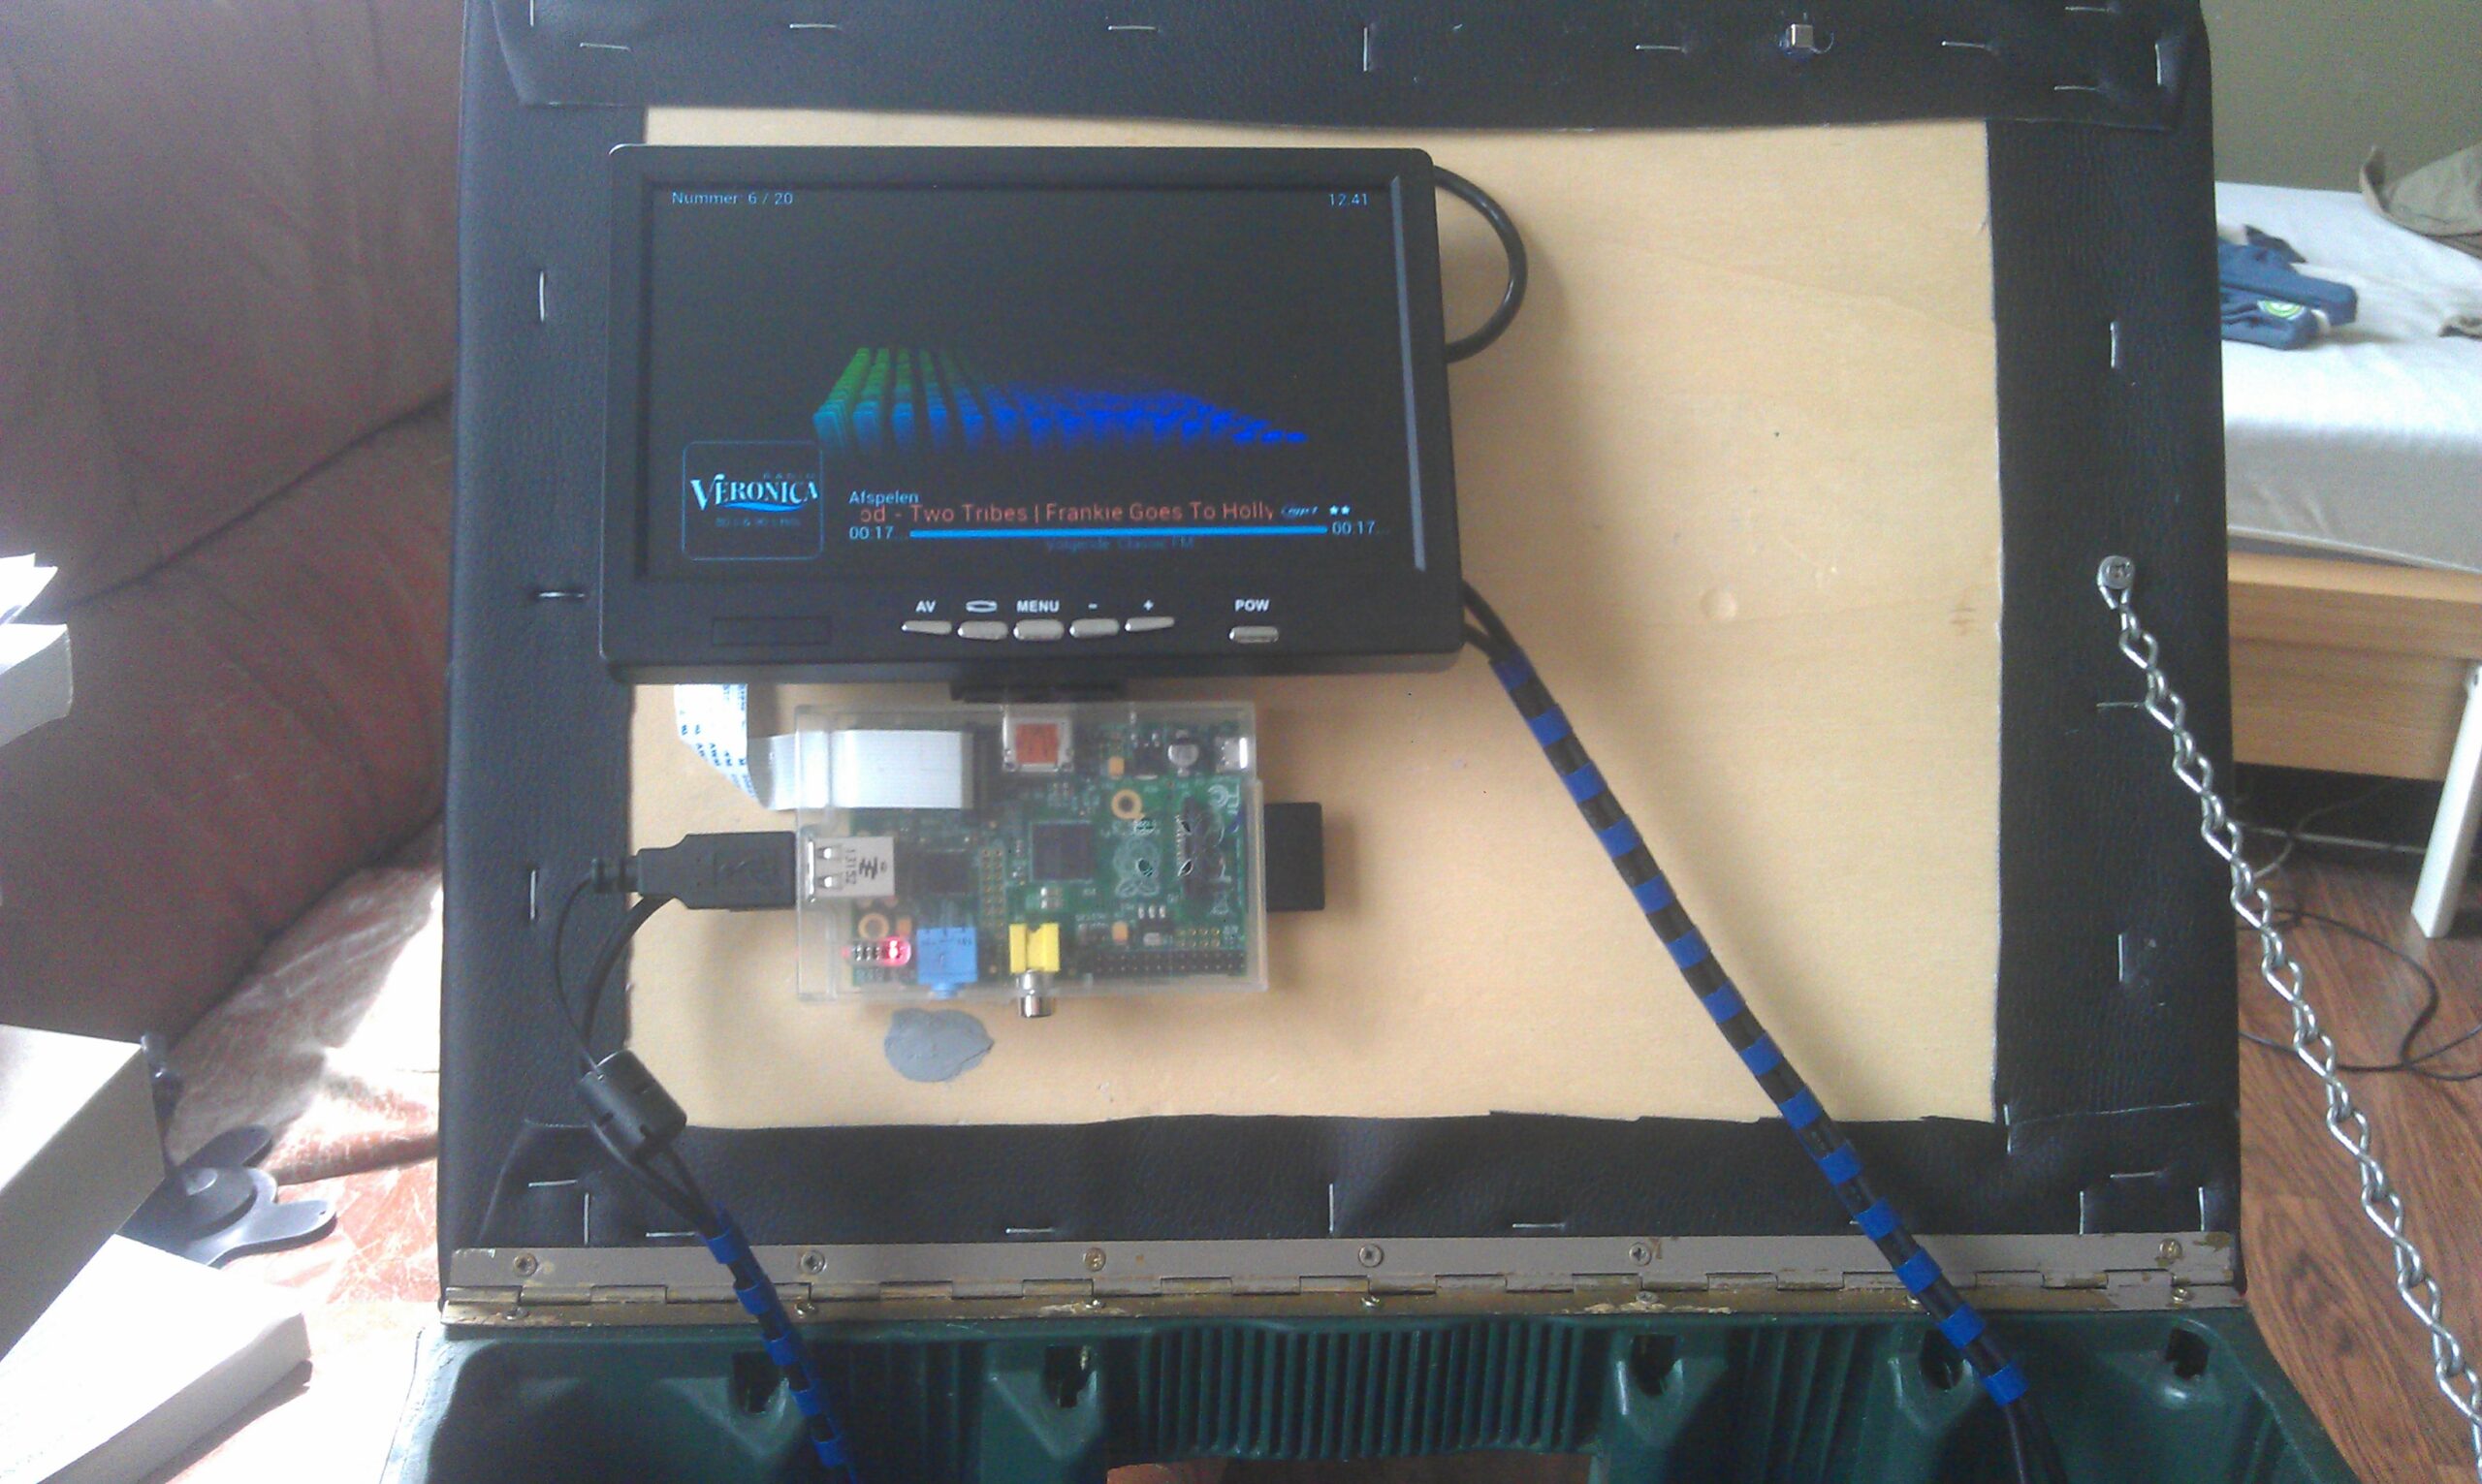
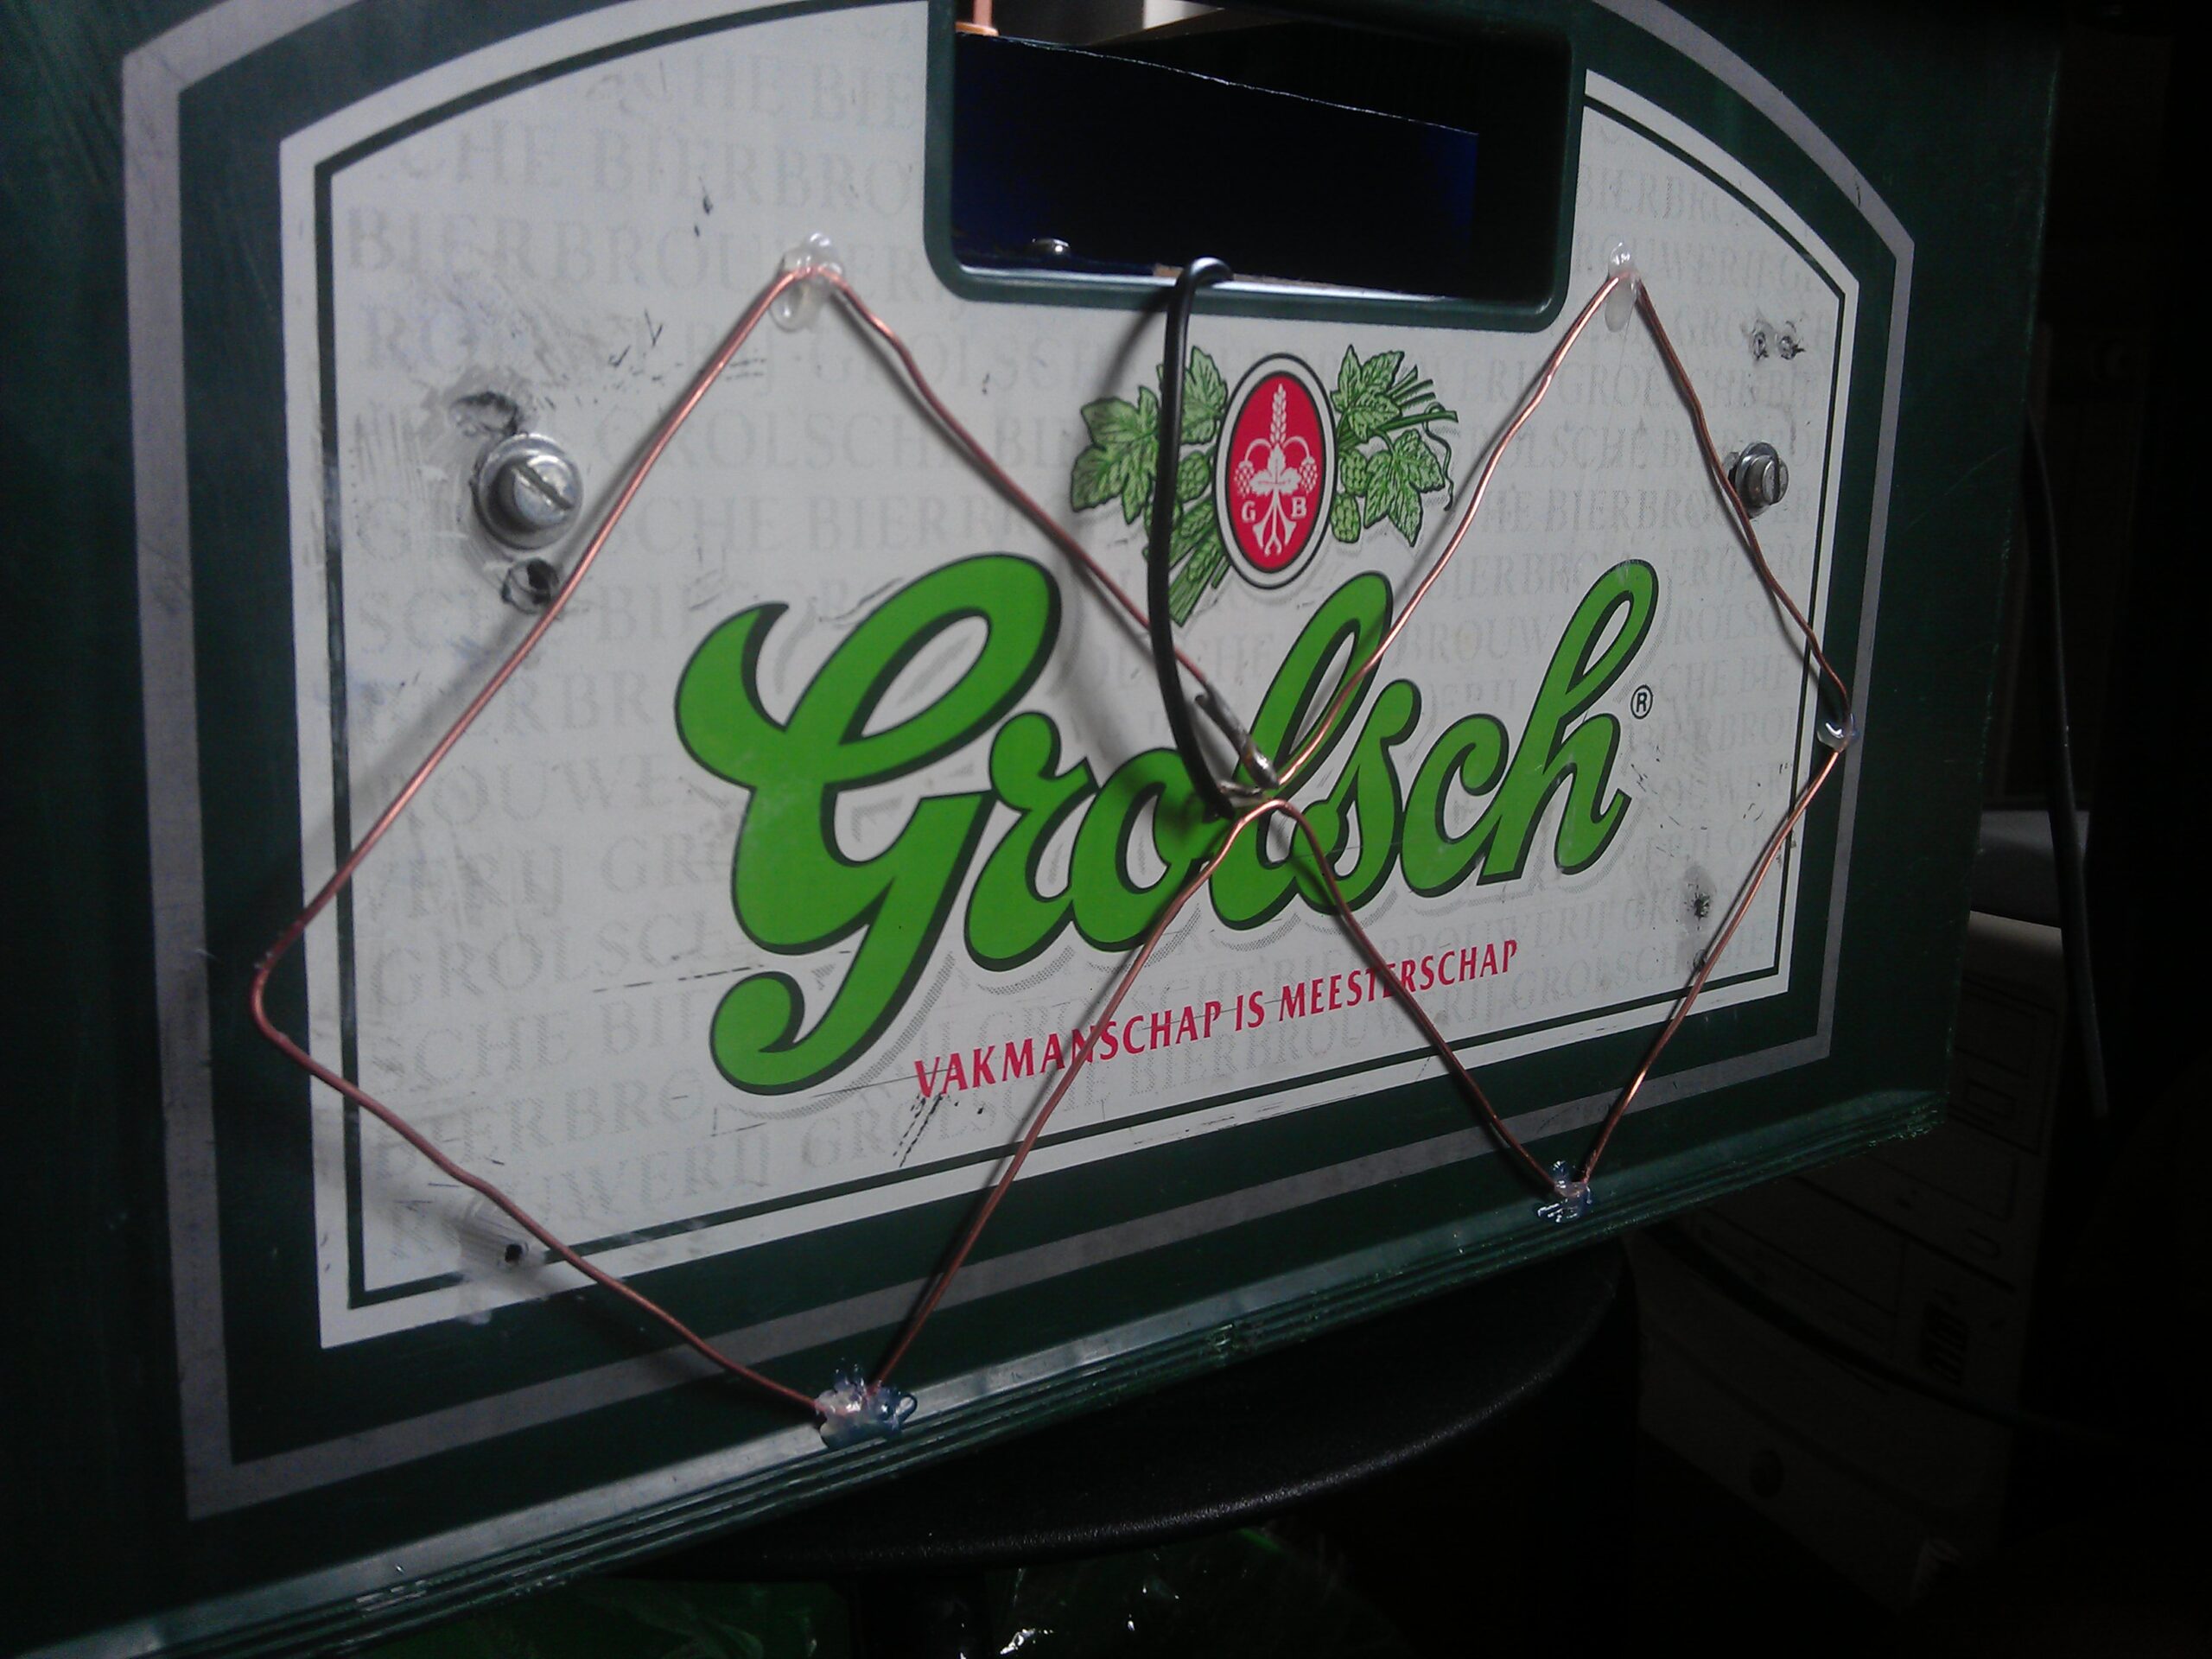
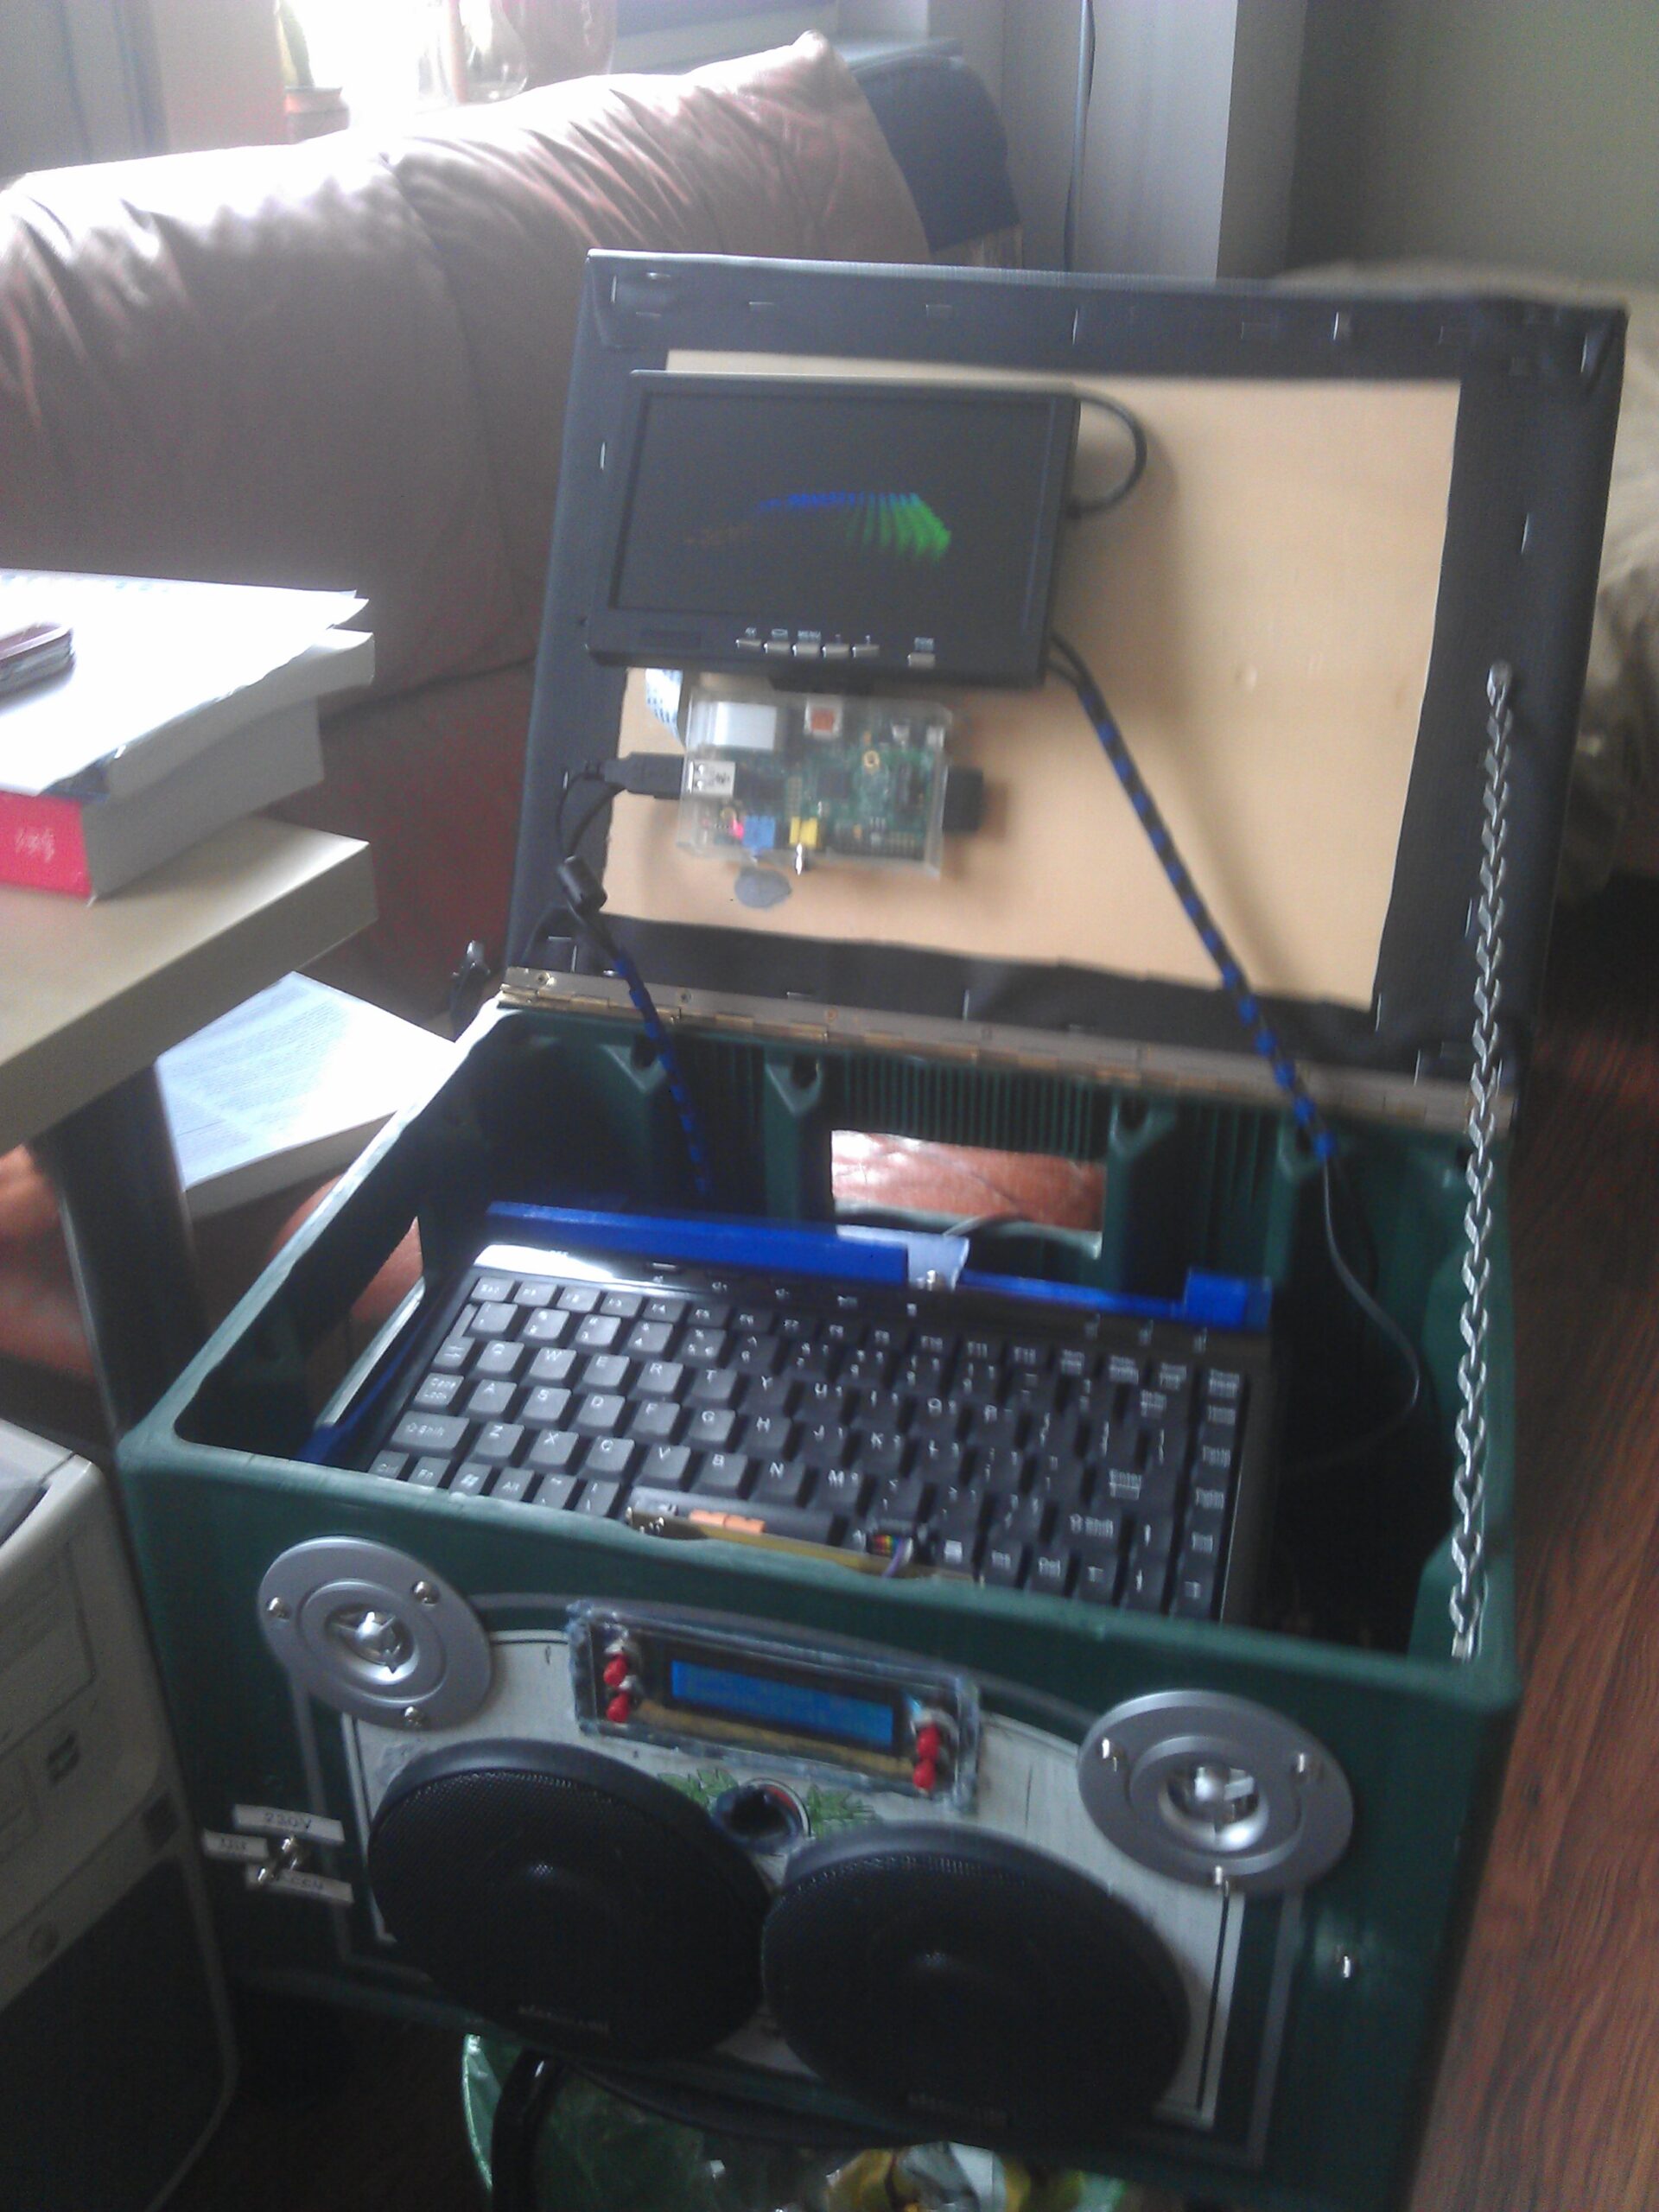
However due to the weight of the screen & Raspberry Pi, and limited reception due to the fact that I could not fit a large enough antenna, I decided to scrap this part of the boombox.
Using the Raspberry Pi 1 model B in the mirror was fine, as it was also running the original Magic Mirror software (not yet MagicMirror²). This original hardware setup ran for about 2 years, way into 2017.
2017 – New software, new Raspberry Pi
In 2017 I revisited the project and found out about the new MagicMirror² software. Firstly I decided the RPi 1b has had it’s best time, and it was time to replace this with a new Raspberry Pi 3 (not really for any good reason, but just because I wanted something fancier). Secondly, I installed the new software on the mirror, which allowed me to do much more with the system, as this new software relied on modules that could easily be added and/or removed from the system. This meant that first of all, there were now a whole lot of people around the world collaborating on this project and making fancy modules that could do all sorts of things. Secondly, since the structure of the software was greatly improved, it became much easier to add, edit and maintain the entire setup.
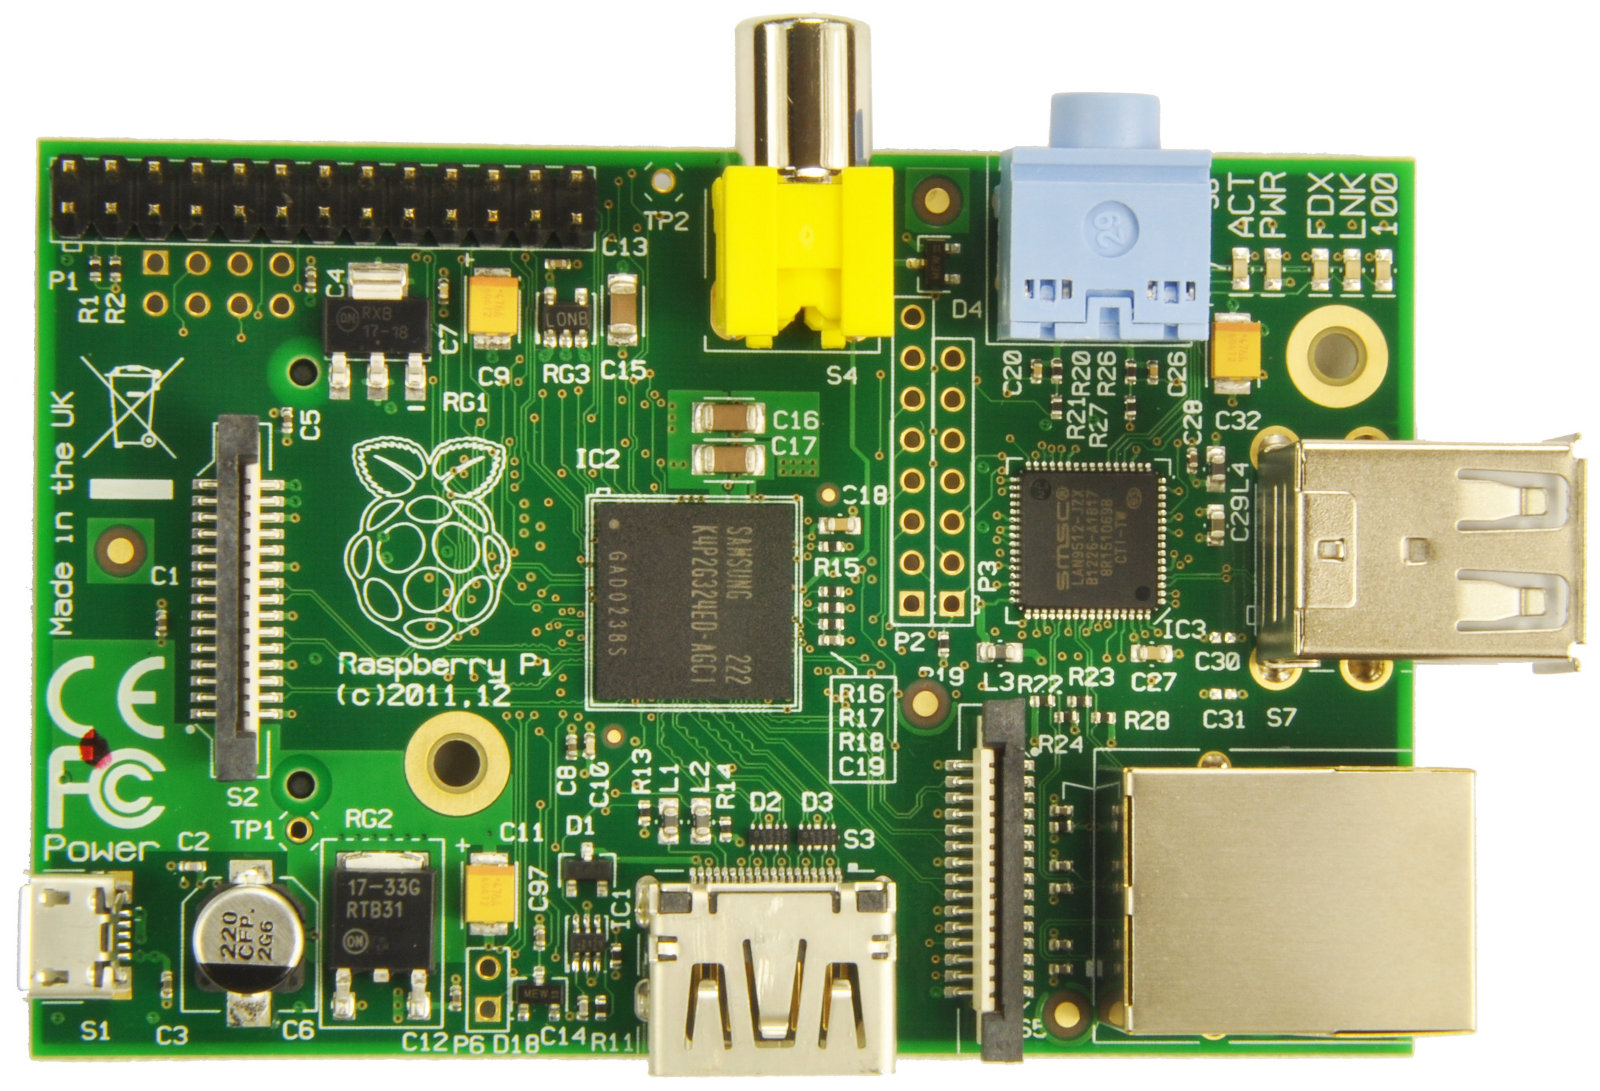
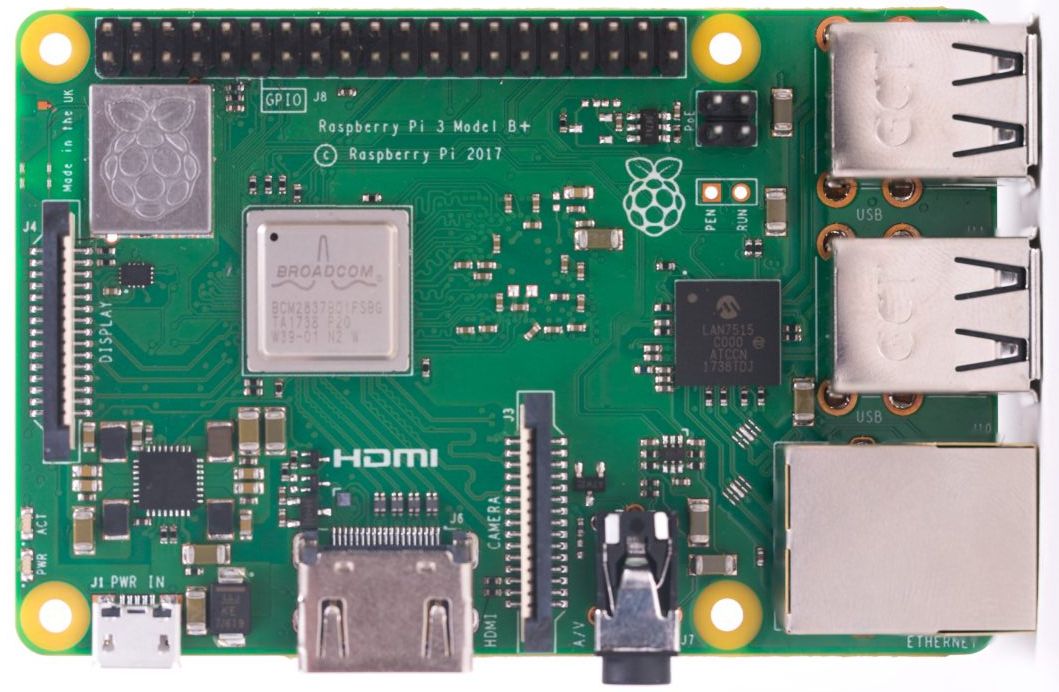
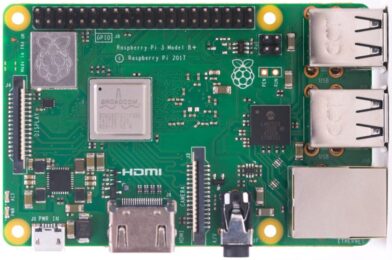
Raspberry Pi 1 model B vs. Raspberry Pi 3B+
Later, after it came out, I upgraded the Raspberry Pi again to a 3B+. Since I updated to MagicMirror² I have tried many different modules, although I never wrote them on a list and most of them I have therefore also forgotten again.
February 2019 – Screen update
Ever since I build the mirror I wasn’t very satisfied with the original TV screen. The resolution of the screen was 720p, and since it was such an old TV I imagined it used quite a lot of power. I have a BenQ G2412HD that I have used as a second PC monitor for years which has performed extremely well in my opinion. It also has physical buttons to control the screen, which means they are probably mounted on a separate PCB and easy to put it in a new case. So, a perfect candidate for me to replace the TV screen with.
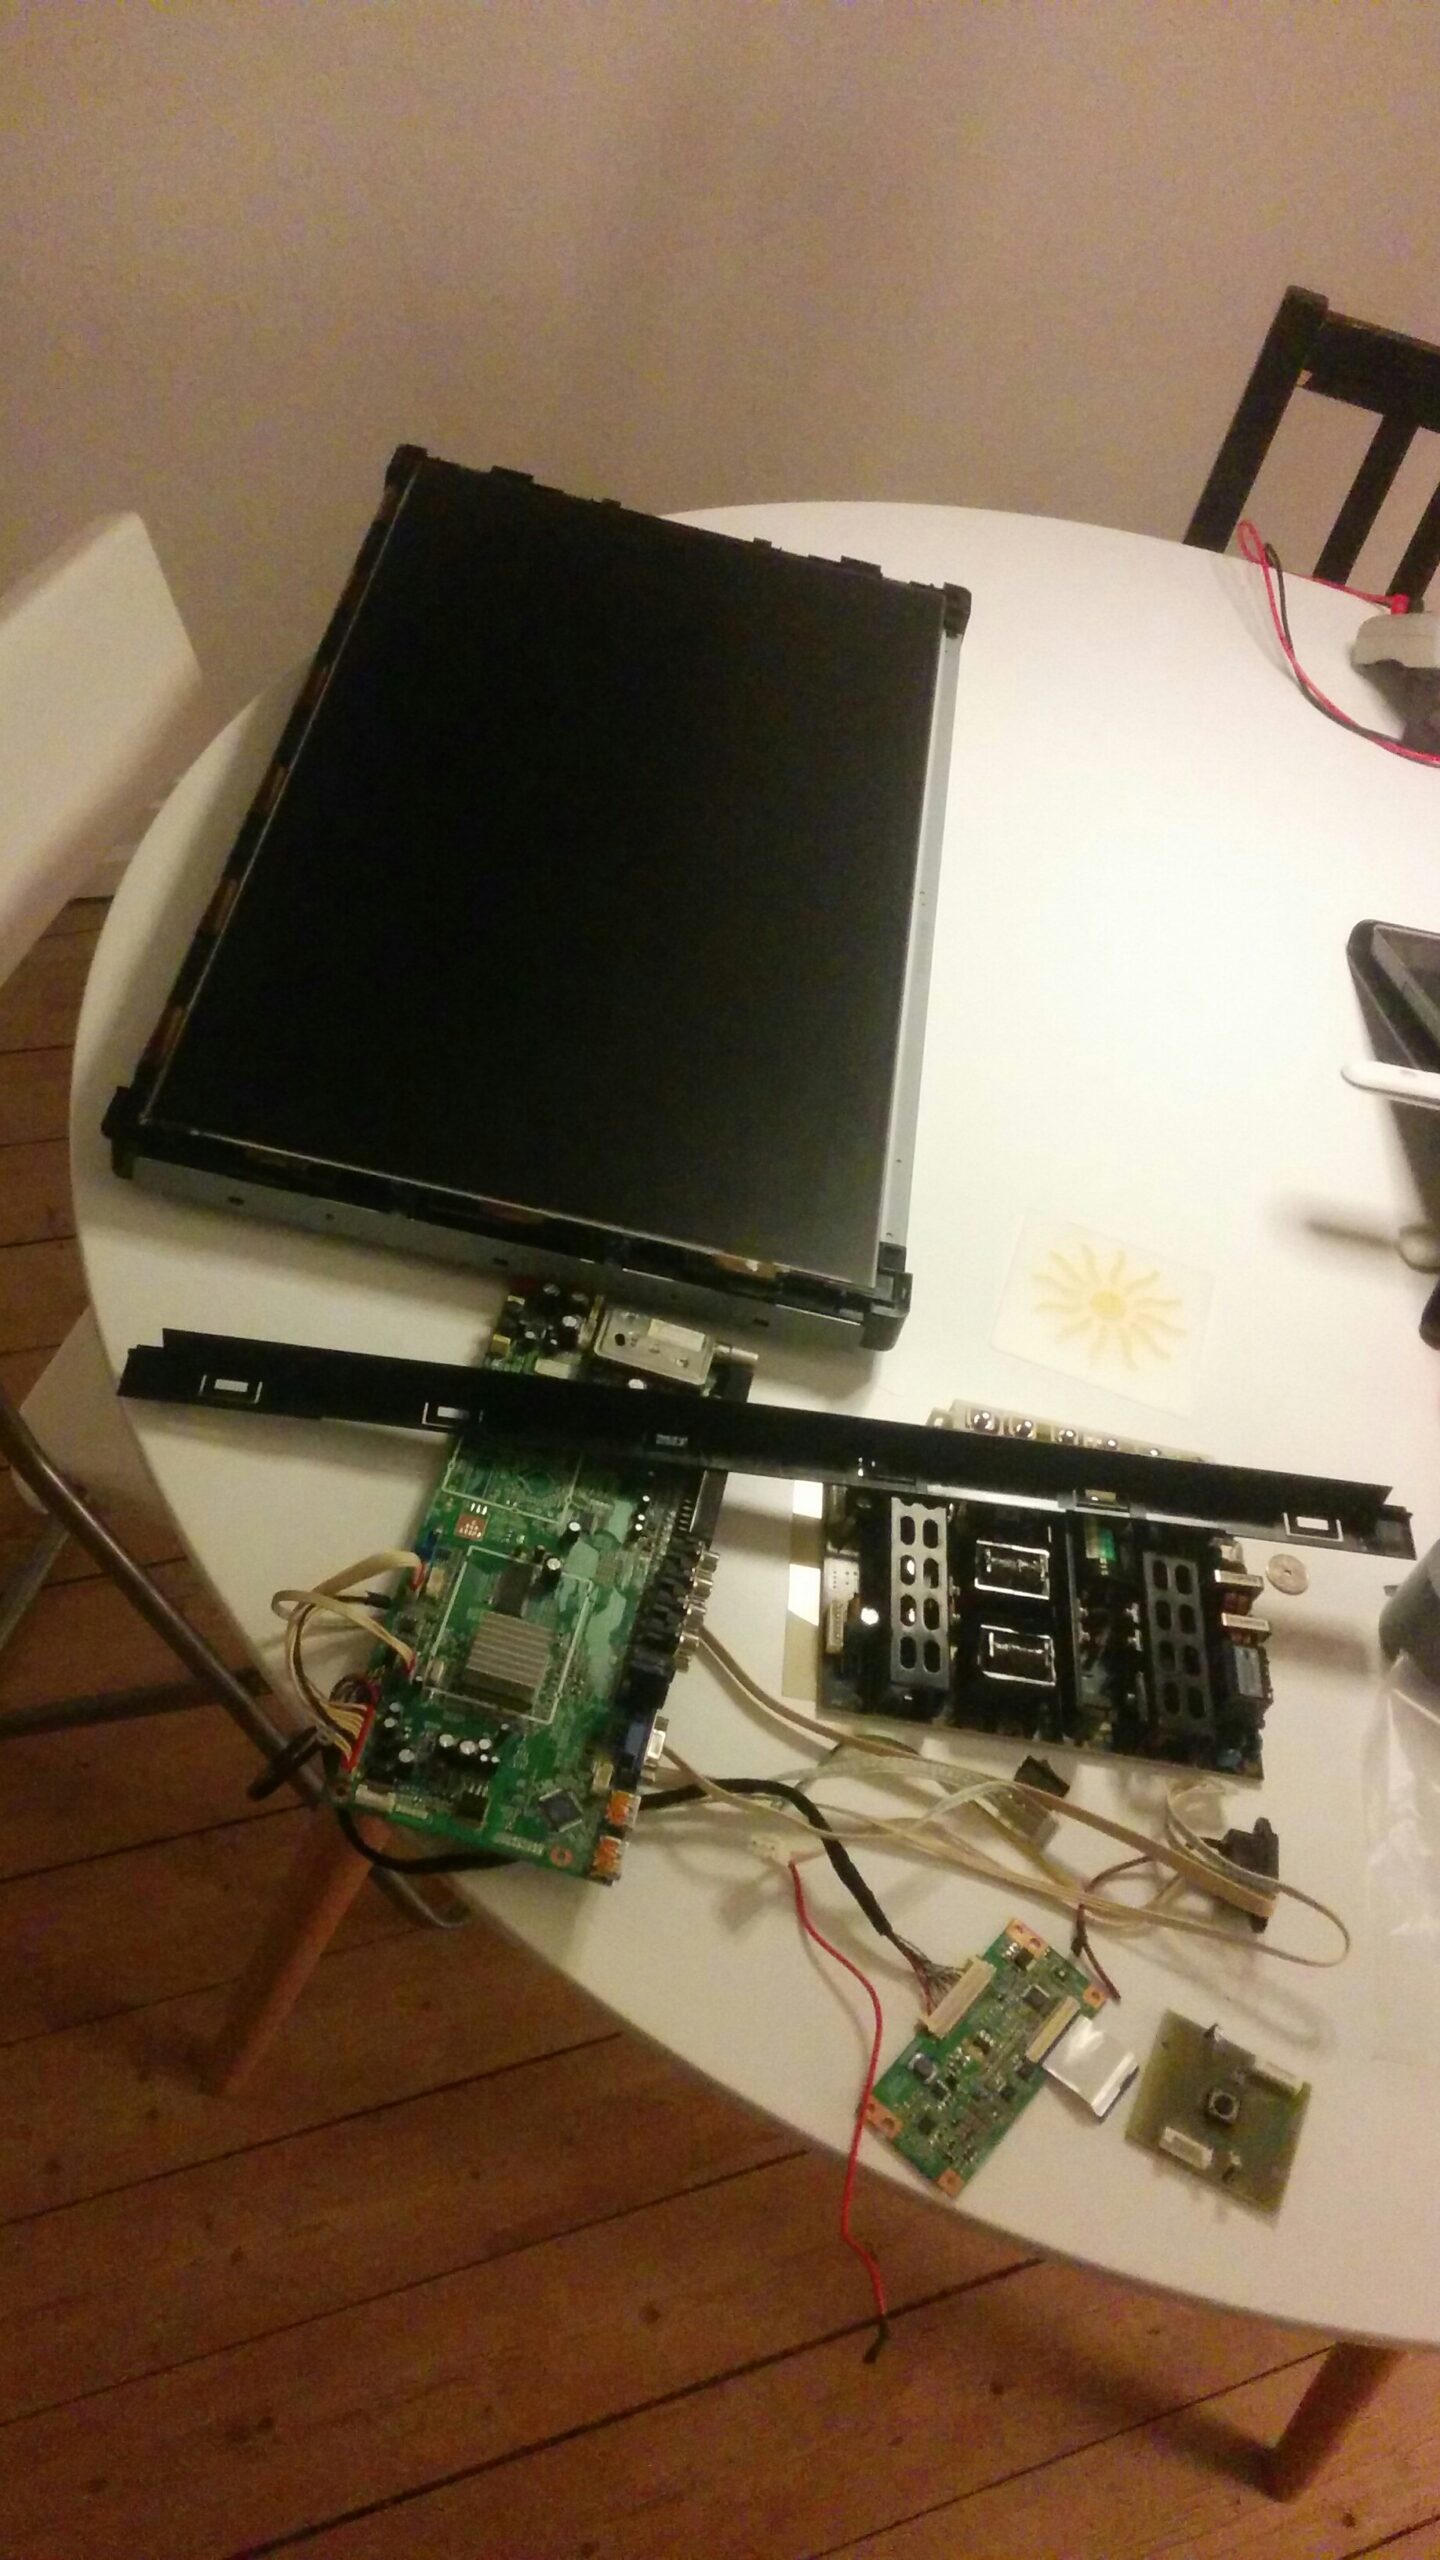
I did not want to use my own screen for this (just in case I messed up and ended up with no screen at all). Luckily I was able to find one second-handed online. It had glue residues on the side, which obviously did not matter to me (the original casing would be removed anyway).

Replacing the screen turned out to be easier than expected. This was mostly because there were not really any unforeseen challenges. Everything was screwed/clamped together (no glue was used inside), and the buttons were placed on a separate circuit board which made it easy to extract and relocate them.
To mount the new screen and aluminium box that contained the screen control board in the case, I designed and 3D printed a small bracket which was able to hold the aluminium box in place inside the mirror’s case.

I had also the wish to move the location of the Raspberry Pi. In the old setup the Raspberry Pi was located on the top. This meant that the heat produced by the TV screen would pass by and heat up the Raspberry Pi, and it would often operate at +60ºC. In the new setup the Raspberry Pi sits in the bottom of the screen inside an aluminium box (which houses all the other electronics as well), which means that cooler air is used to cool the Raspberry Pi and should thus reduce the operating temperature.
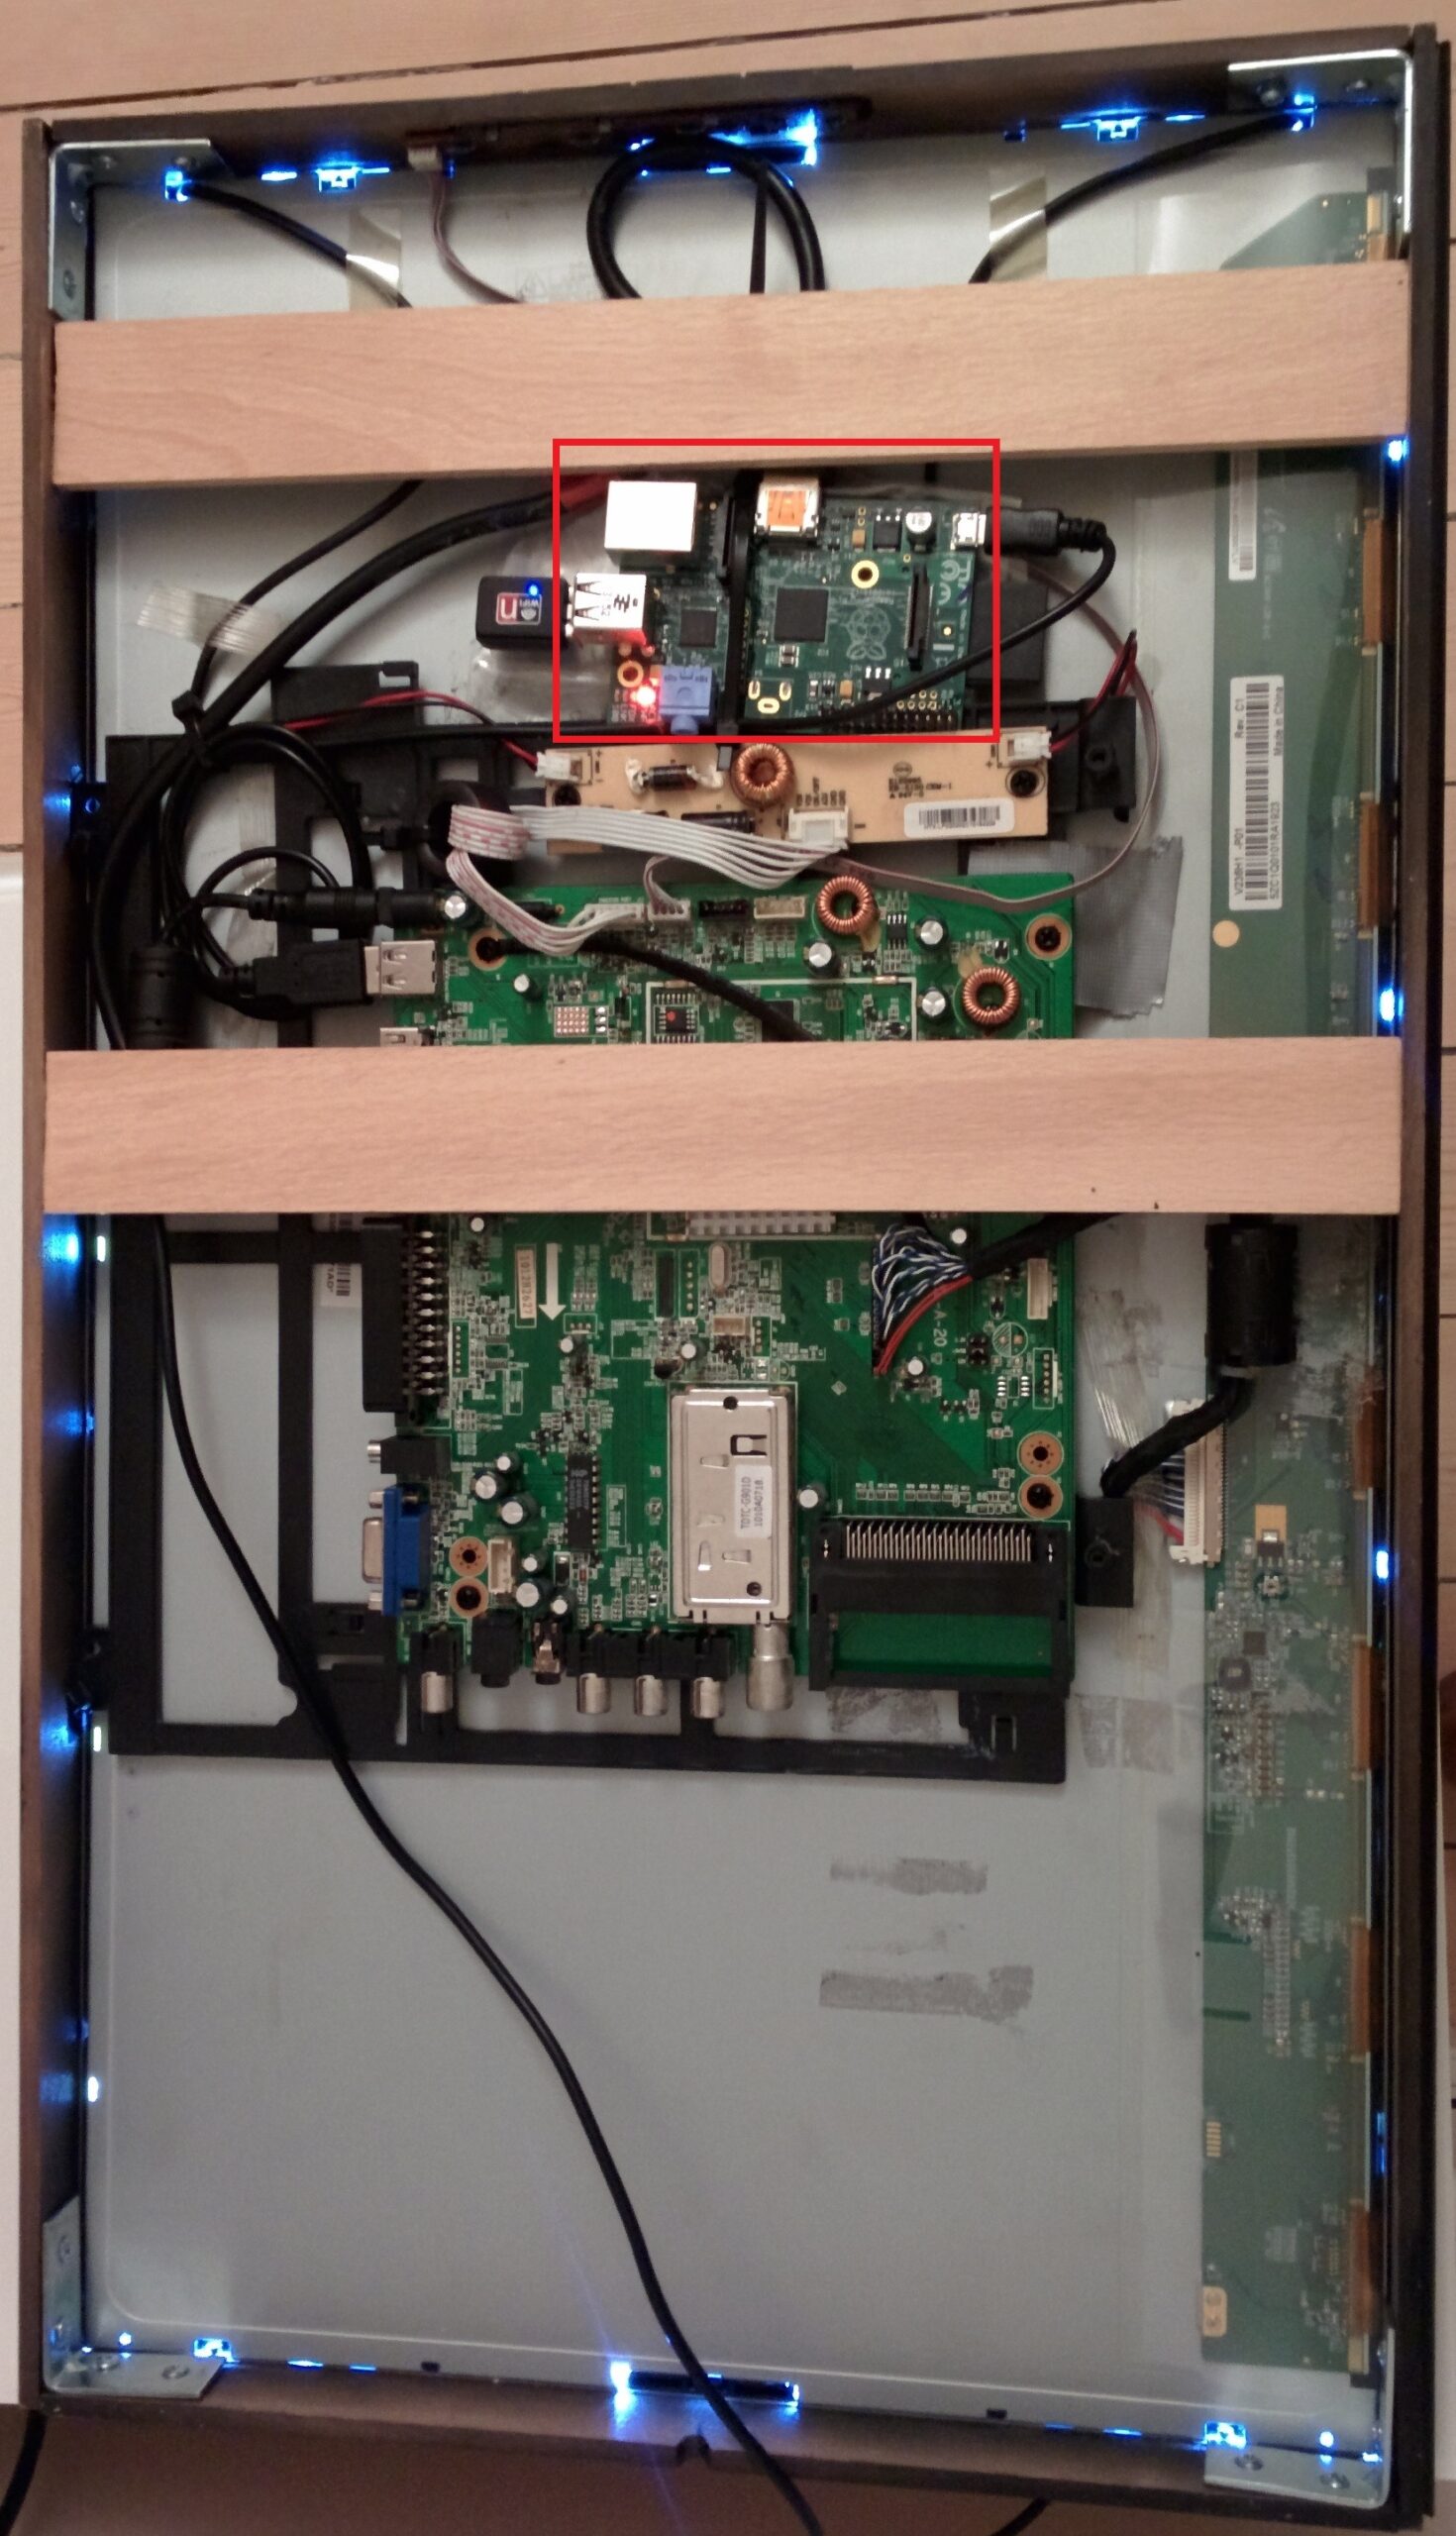
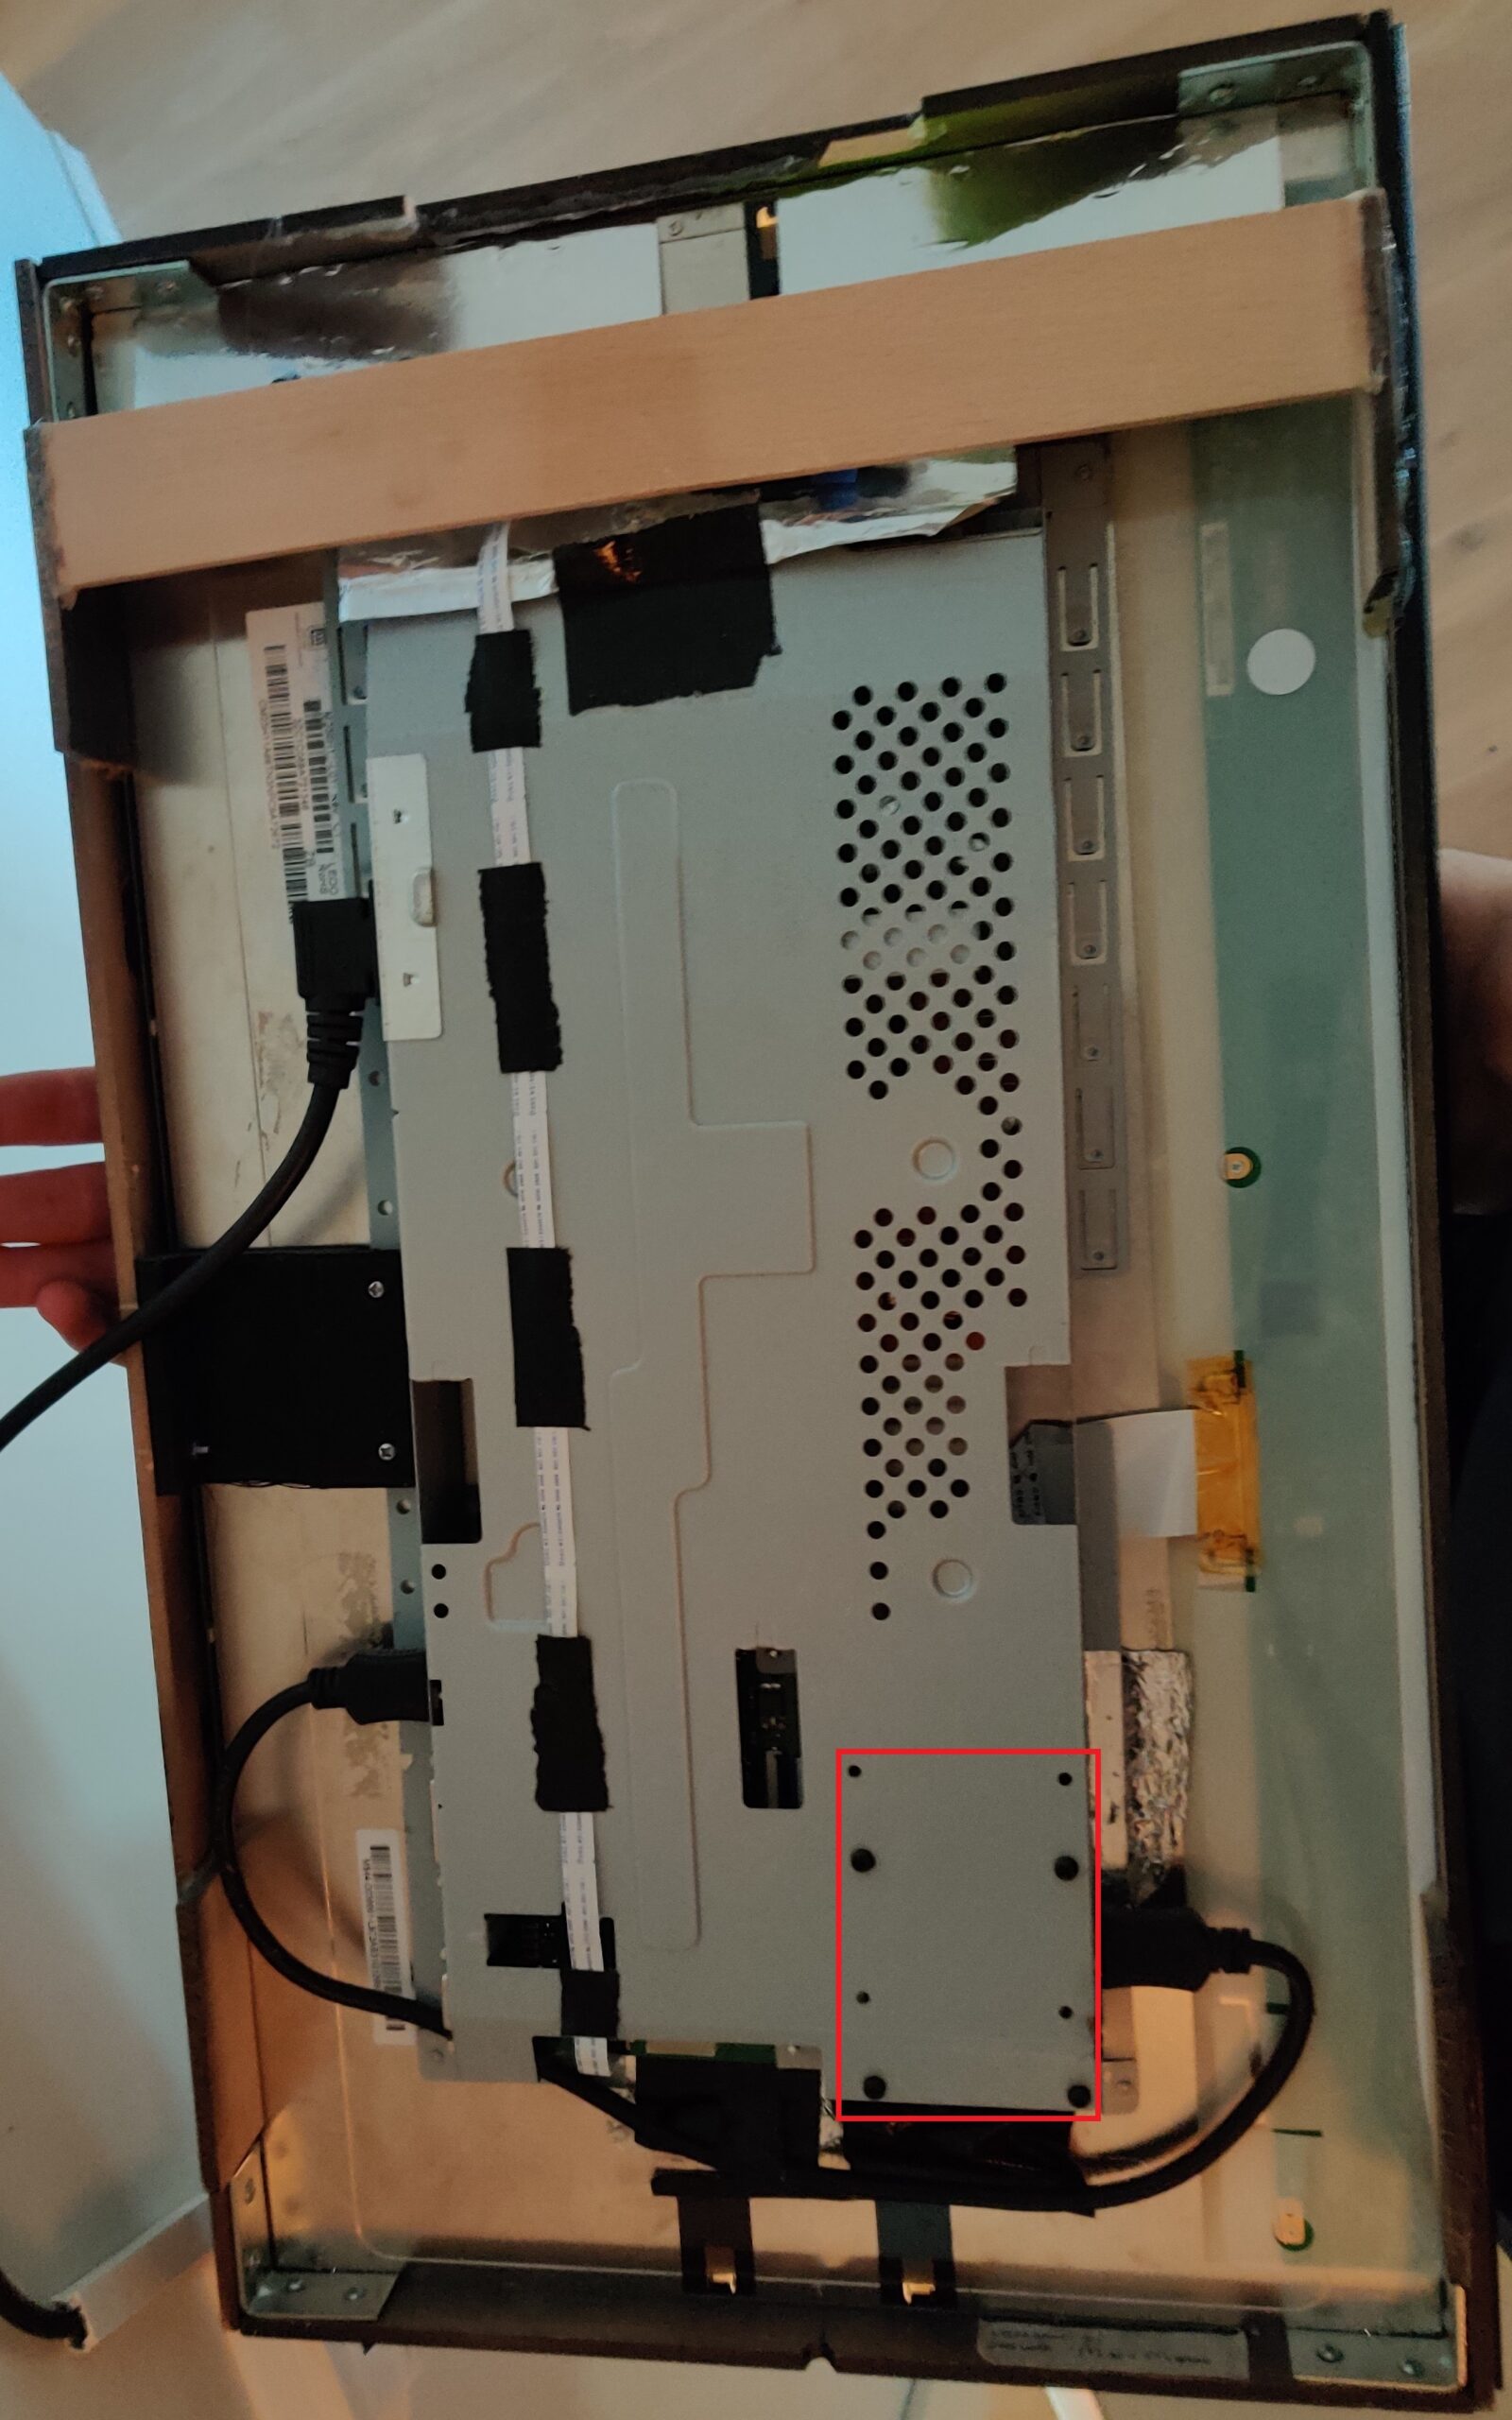
Old vs. new backside. The location of the Raspberry Pi is shown with a red square.
With the Raspberry Pi in the bottom the operating temperature dropped down to ~50ºC while operating.
As mentioned, all the electronics of the new screen are located inside an aluminium box. This box came with the BenQ screen and turned out to be higher than the old TV control board, which meant I had to extend the case a bit. To achieve this, 4 small wooden blocks were placed in the corners of the mirror. I believe this also improves overall cooling of the system, as it allows more air to flow past the back of the mirror.
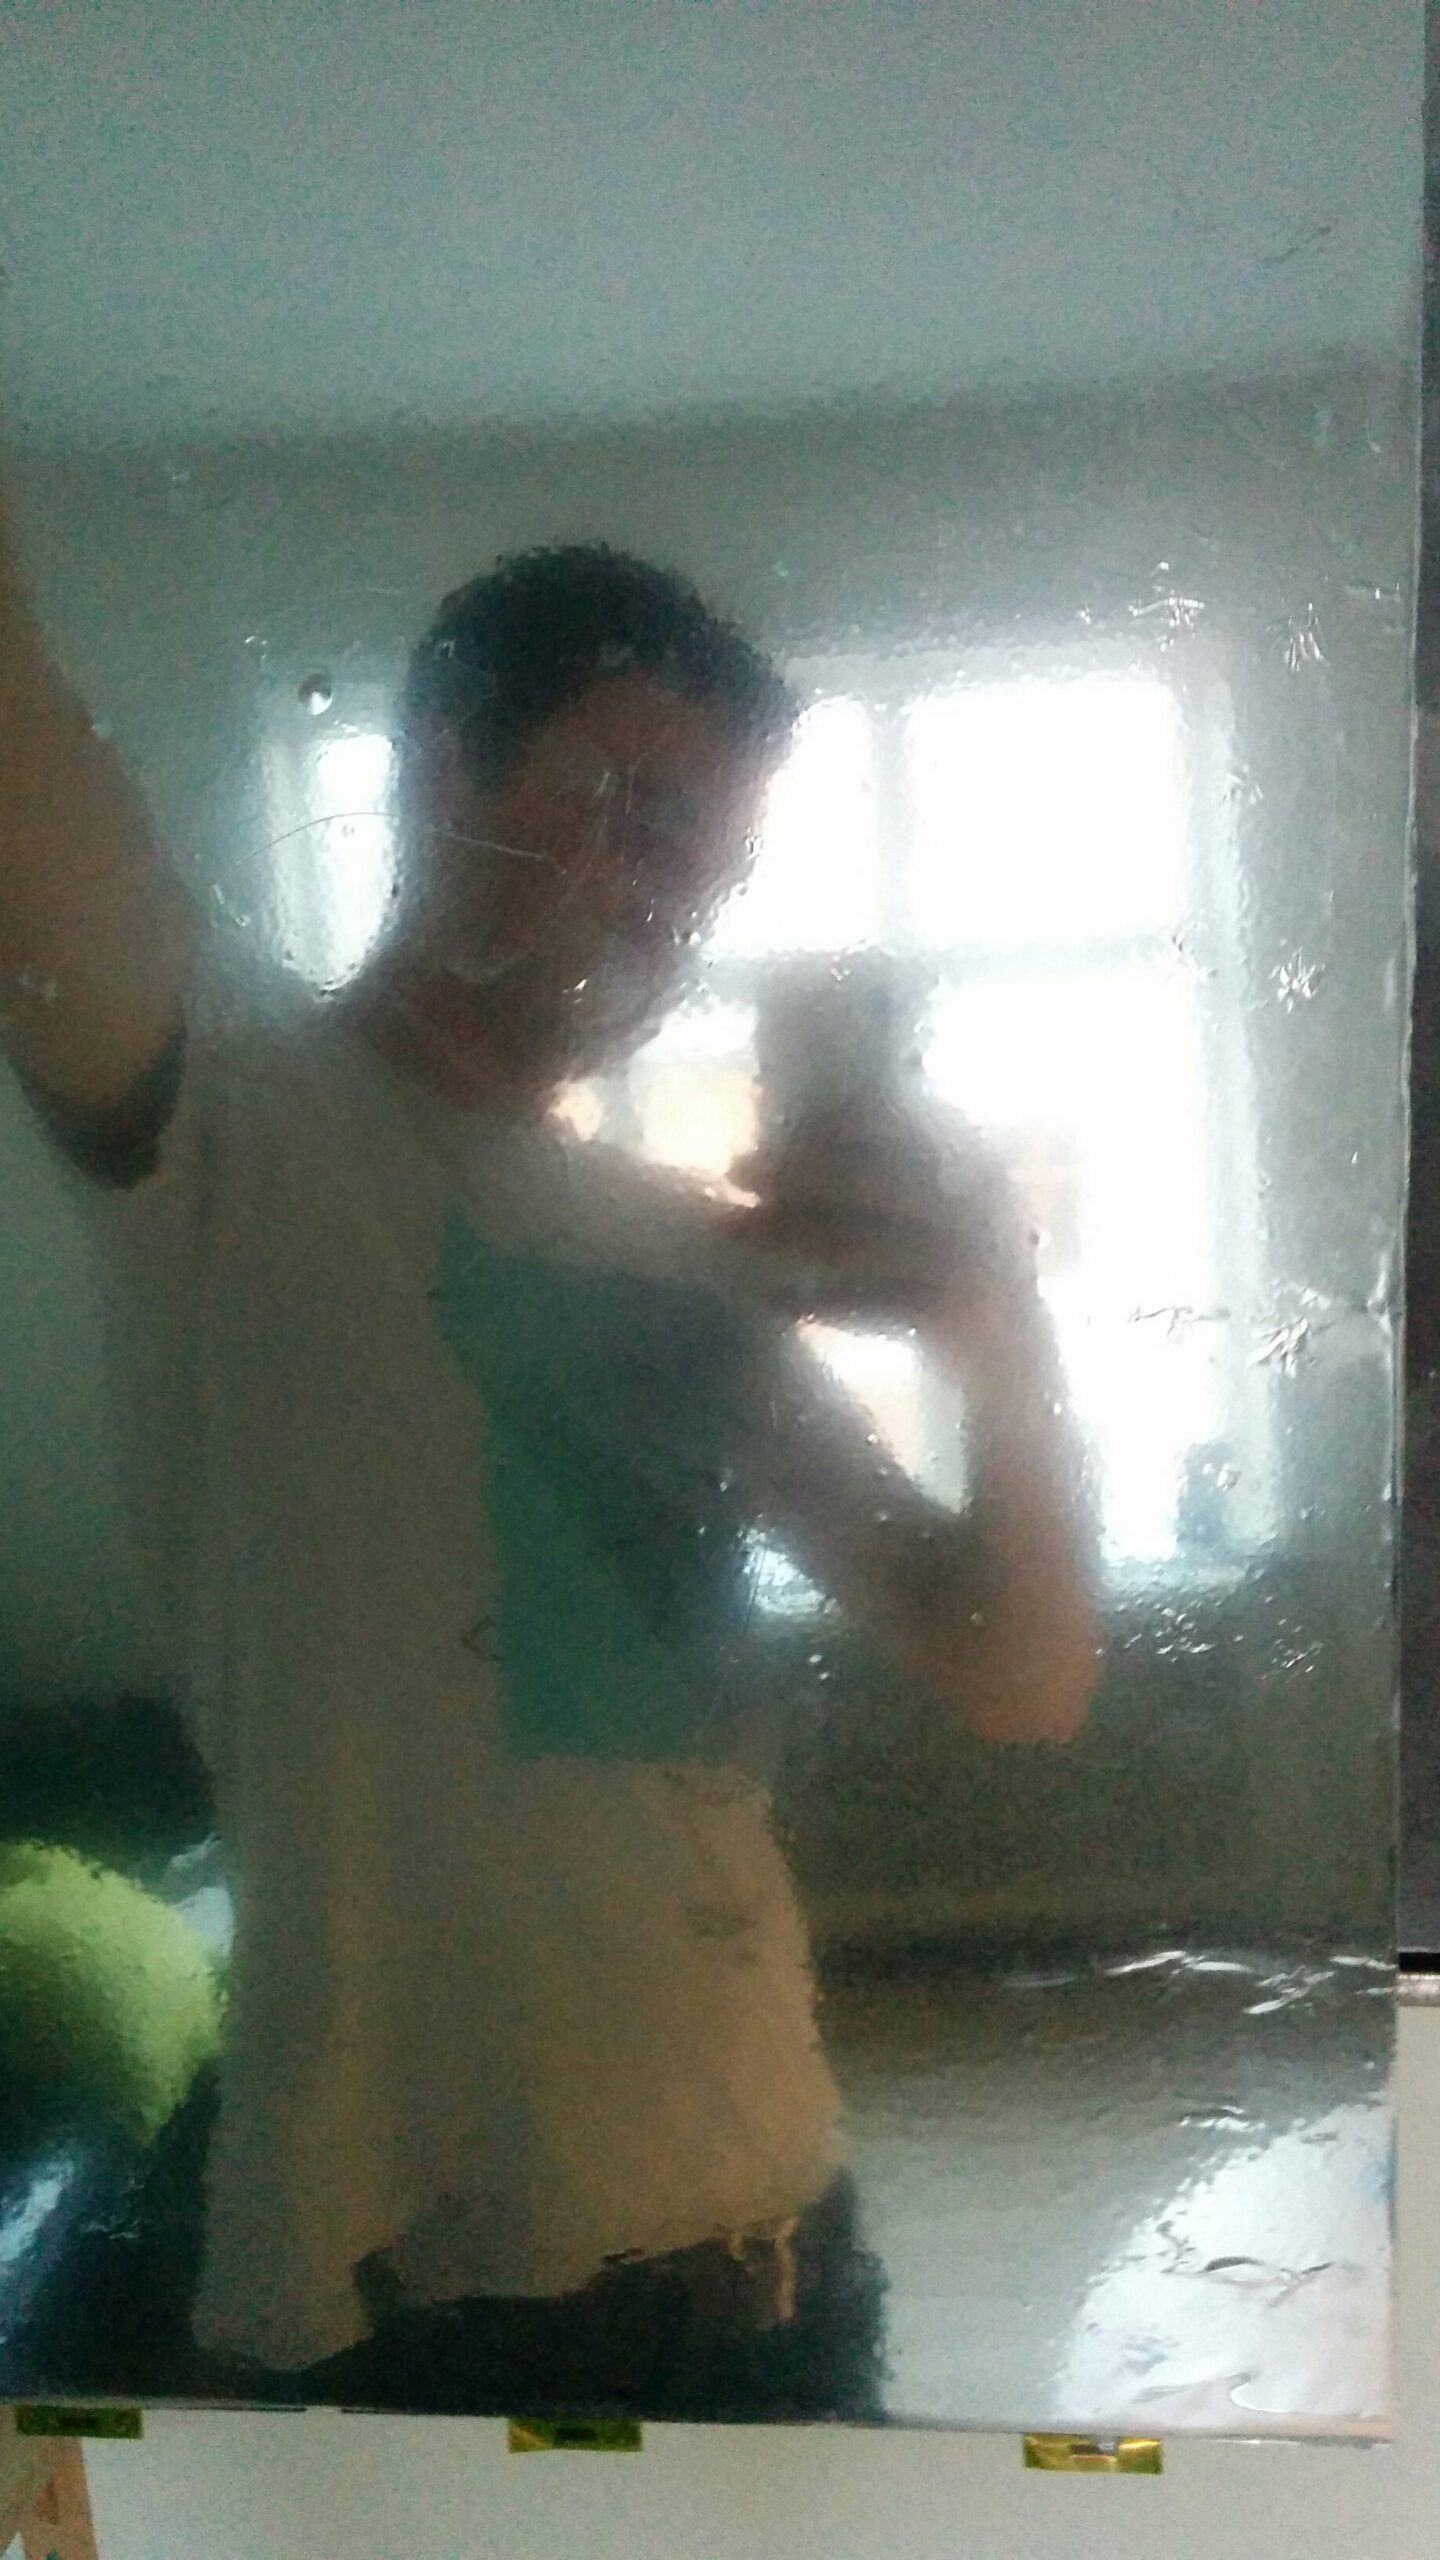
With all the changes the front side also looked different:
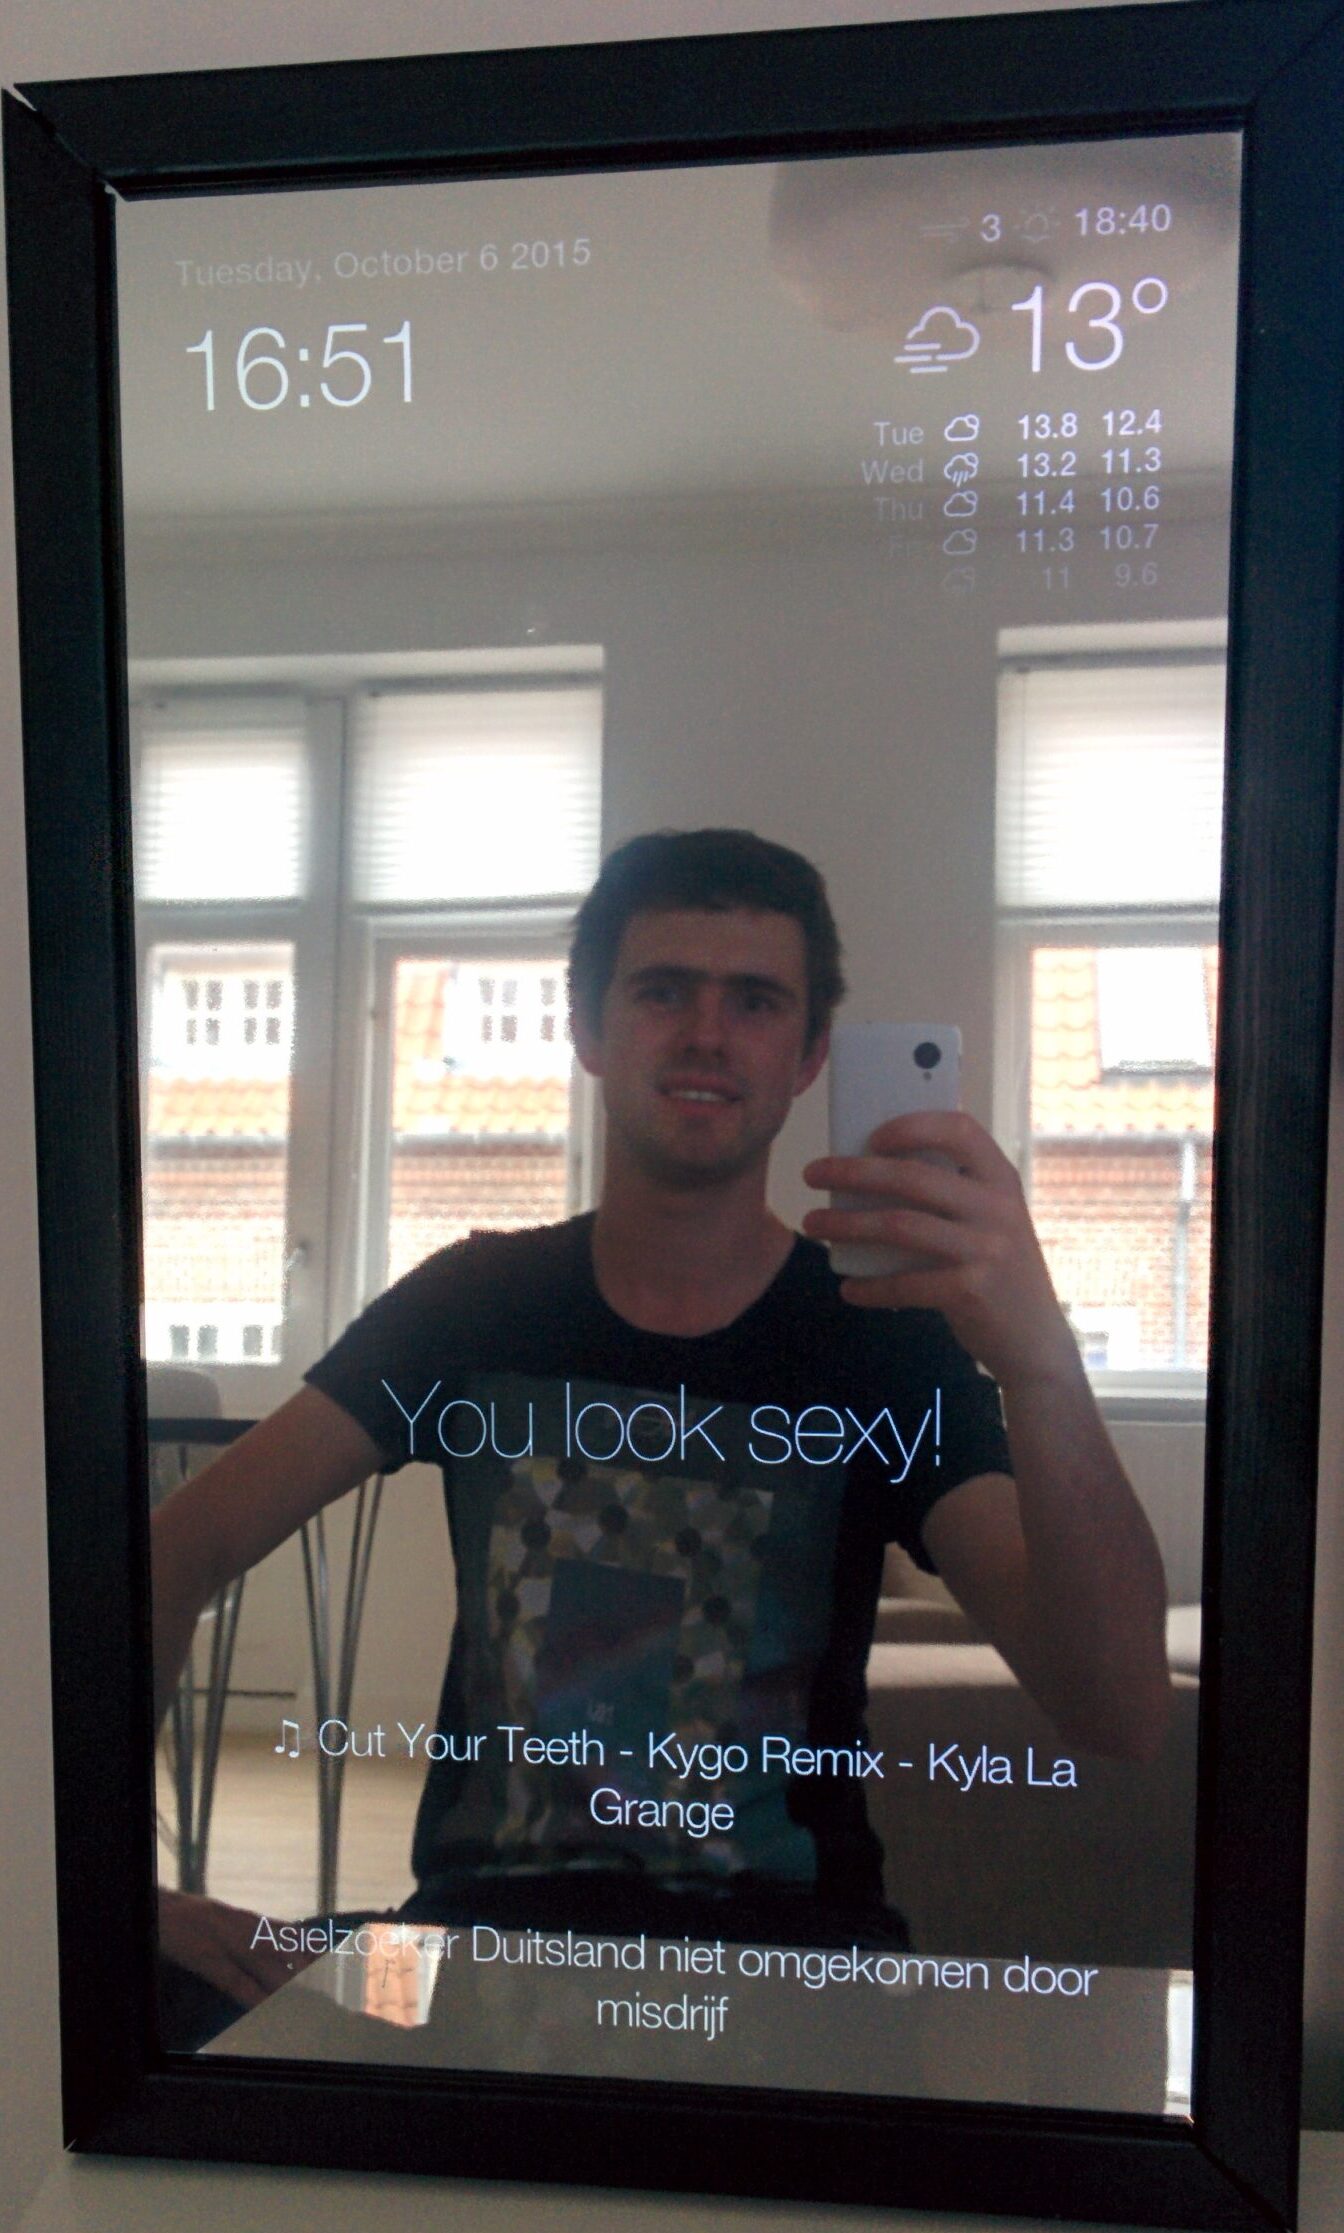
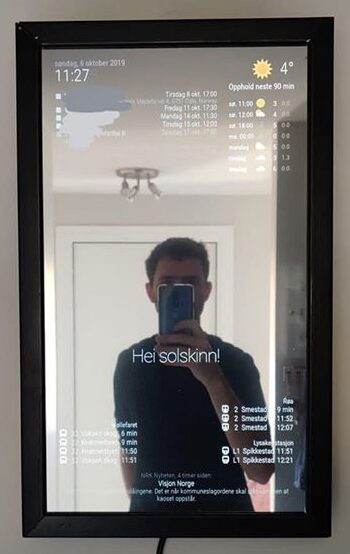
Old vs. new frontside
I was quite blown away by the difference a 1080p screen makes. Suddenly, the clarity was much better and I had to increase some of the fonts because they were too small to read.
Current setup
To showcase the mirror to people when I’m not at home, I have set up two instances of the Magic Mirror software. The first one is only accessible by the local filesystem and takes care of everything that is being shown on the physical mirror. The second one is running in ‘server only’ mode, and can be accessed over the internet. This remote one has some more restrictions, and much of my private information has been removed.
Check out the remote instance here
My current (local) setup consists of the following modules:
- the default modules. Currently only the clock, calendar and news-feed are active.
- MMM-AVStock to show the stocksprices of my stocks.
- MMM-Comics to give some entertainment.
- MMM-Entur-tavle to show when the nearby bus leaves.
- MMM-Remote-Control to allow basic controls from my phone.
- MMM-Snow to show snow when it’s snowing outside.
- MMM-YrNow to show the current weather.
- MMM-YrThen to show the weather forecast.
As a finisher, I’ll show you how all of that together looks:
Cheers!
