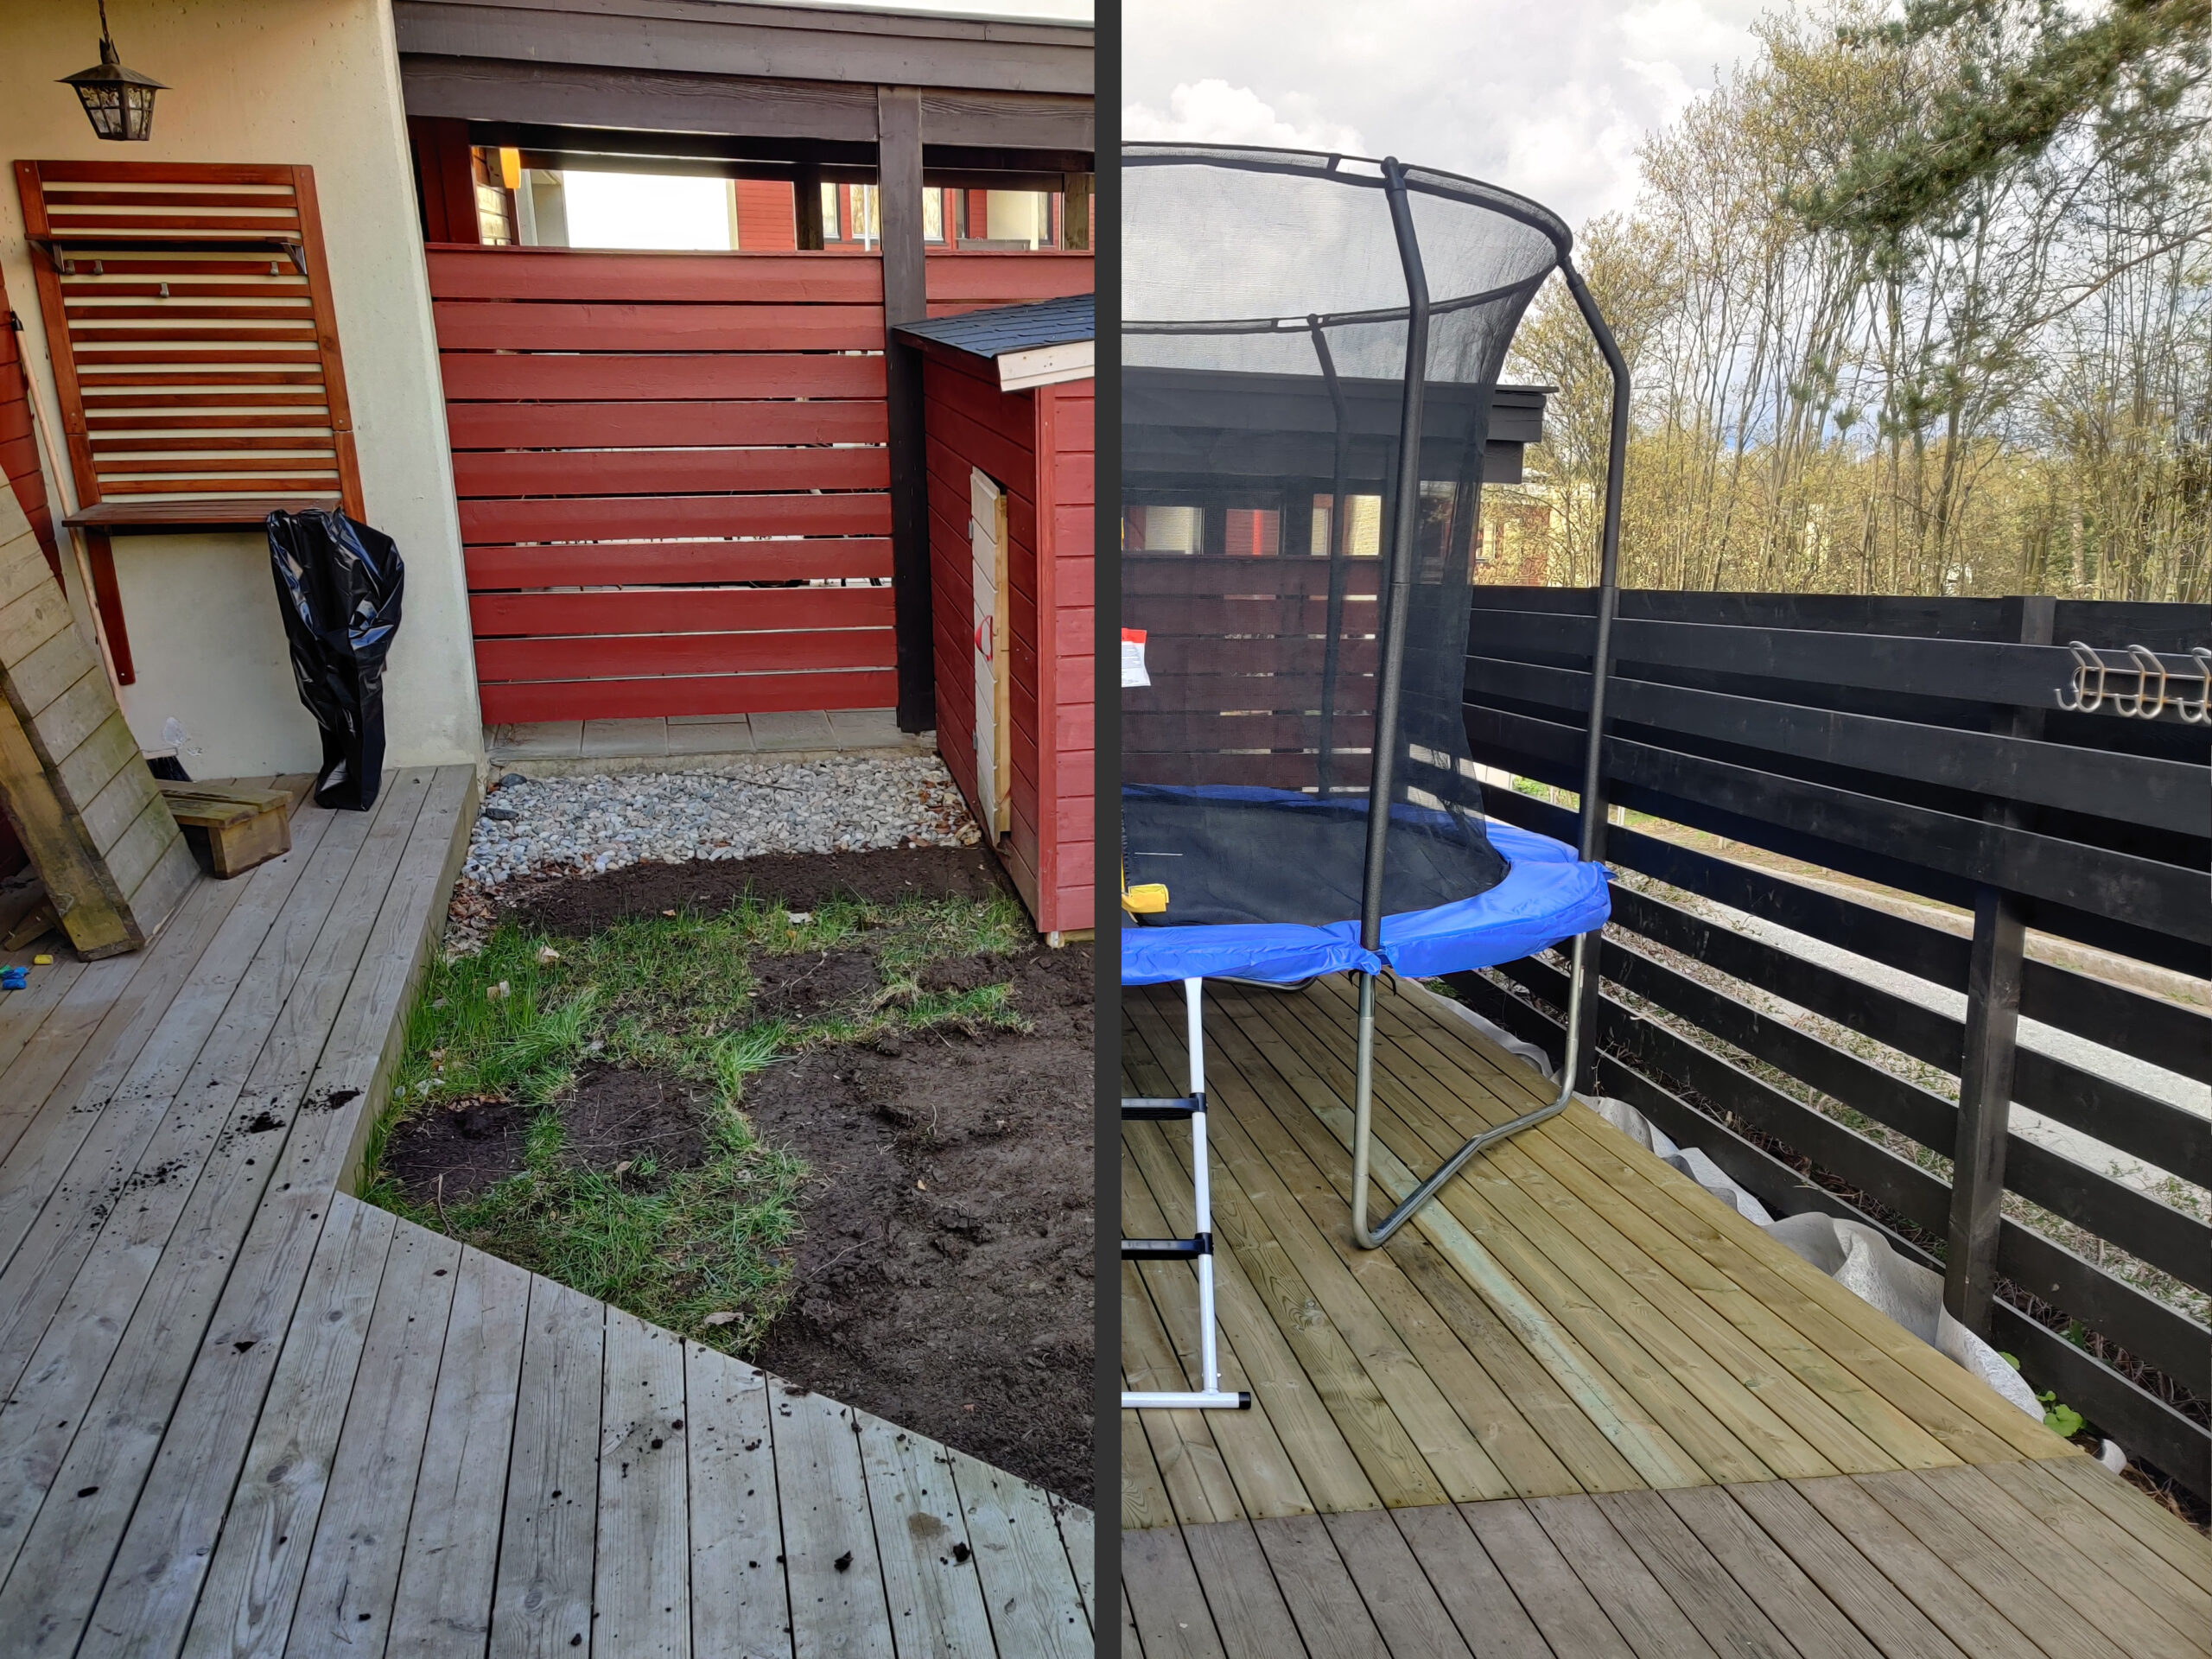
We recently moved to a new house. This house has a veranda, which included a terrace that covered ~60% of the total area. The rest was covered by some (poorly grown) grass and a small playhouse for the children.

Our plan is to extend the terrace to cover at least all the grass for 2 reasons:
- The grass’s condition is really poor, and there are a lot of small stones. We have a baby that soon will start to crawl around, and don’t want her to hurt herself on the stones or start eating the grass.
- We have a second child which is almost 11, who would love a trampoline.
To determine the amount of materials needed for this job (and to have a good reference), I measured the veranda and drew it into Google Sketchup:

The most common small-sized trampolines we can buy in our local stores are 3 meters in diameter. Inside the 3D model I drew a 3 meter wide trampoline and saw that it would just about fit in the middle of the veranda once the terrace was build. It would however be a tight fit with the children’s playhouse and the project that I’m planning on the left side of the veranda.
With this in mind we planned to see how things worked out by leaving the children’s playhouse intact and start building the terrace.
The build
Firstly, I removed the grass, stones and started digging holes which would later be filled with gravel to support the terrace.
Our first thought was to save ourselves some work and leave the playhouse intact, building the new terrace around it. Around halfway into the digging, we decided that this lazy approach was not the right way to do it. It would be better to build the terrace all the way, to allow the playhouse to be placed more freely afterwards. Below is a video of how this process looked.
Digging the holes was hard work, as the ground was quite wet and felt like clay. But after a week of digging, everything was removed and the part that I’m really diggin’ (badum-tss), namely the building part, could start!

I got some help from my brother- and father-in-law who were kind enough to buy me the building materials and drive them to our house. I also need to thank them for loaning me much of the equipment I needed for this build. So thank you!

After placing the support structure, the final layer of wood could be build. While doing this I attempted for the first time to make a time-lapse video, which turned out exceptionally well.
And when all the sawing, screwing and building was done the end result looks like this:
